Previous Next

Adjustment

GASOLINE PISTON ENGINES

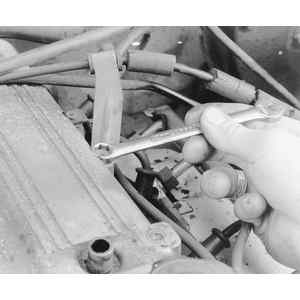
Fig. 1: After removing the air cleaner assembly, unbolt any brackets from the valve cover which will inhibit removal

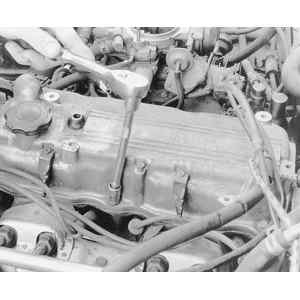
Fig. 2: Remove the valve cover-to-cylinder head mounting bolts . . .

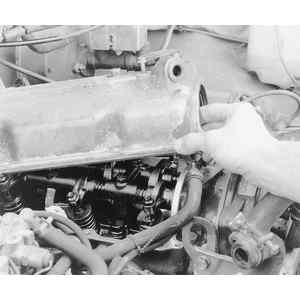
Fig. 3: . . . and lift off the valve cover

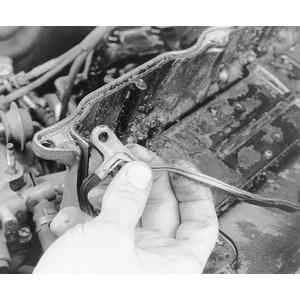
Fig. 4: Inspect the rubber O-ring gasket for cracks or tears that may leak oil — replace as necessary

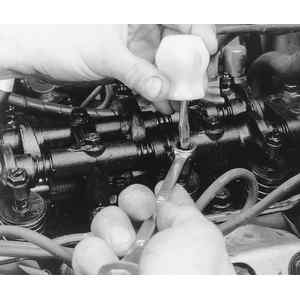
Fig. 5: Insert a feeler blade between the rocker arm and valve tip, and check the clearance — this particular vehicle's lash was too tight (0.009 in.); the proper lash clearance is 0.012 in.

Fig. 6: To adjust lash, loosen the locknut and turn the center adjuster in or out to change the clearance — hold the center adjuster from turning when you tighten the locknut and double check clearance afterwards

  1. Run the engine until normal operating temperature is reached.
  2. Shut off the engine and remove the rocker cover.
  3. Torque the cylinder head bolts to their specified torque, in the proper sequence.
  4. Rotate the crankshaft so that the No. 1 cylinder (front) is in the firing position. This can be determined, on gasoline engines, by removing the spark plug from the No. 1 cylinder and putting your thumb over the spark plug port. When compression is felt, the No. 1 cylinder is on the compression stroke. Rotate the engine with a wrench on the crankshaft pulley and stop it at TDC of the compression stroke on the No. 1 cylinder, as confirmed by the alignment of the TDC mark in the crankshaft pulley and the timing pointer.
  5. Check the valve clearances by inserting a flat feeler gauge between the end of the valve stem and the rocker arm. The clearance can be checked for No. 1 and No. 2 intake valves and No. 1 and No. 3 exhaust valves.
  6. If the valve clearance is incorrect, loosen the adjusting screw locknut and adjust the clearance by turning the adjusting screw with the feeler blade inserted. Hold the adjusting screw in the correct position and tighten the locknut.
  7. Rotate the crankshaft (in the normal direction of rotation), until No. 4 piston is at TDC compression. Adjust No. 3 and No. 4 intake valves and No. 2 and No. 4 exhaust valves.
  8. Install the rocker arm cover and torque the nuts to 18 inch lbs.

Previous Next