Previous Next

REMOVAL & INSTALLATION

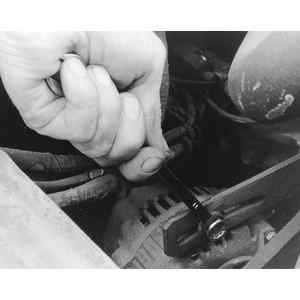
Fig. 1:After removing all electrical connections to the alternator, loosen and remove the adjusting arm bolt and drive belt

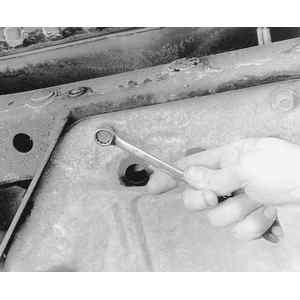
Fig. 2: On some models, you must loosen the splash shield bolts . . .

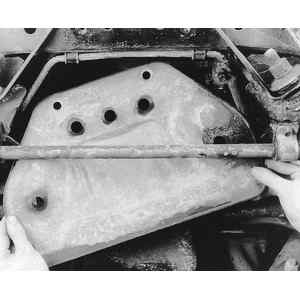
Fig. 3: . . . and remove the shield to gain access to the lower alternator bolts

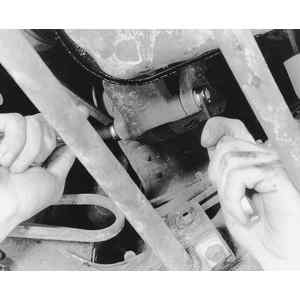
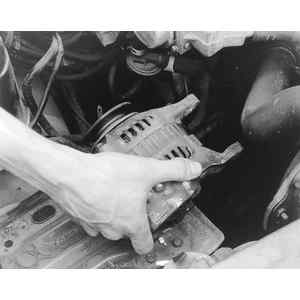
Fig. 4: Loosen and remove the lower pivot bolt . . .

Fig. 5: . . . and remove the alternator from the vehicle

1,586cc, 1,796cc, 1,970cc, 1,998cc and 2,209cc Engines
  1. Disconnect the negative (ground) cable. On some models, it may be necessary to remove the battery.
  2. Remove the nut holding the alternator wire to the terminal at the rear of the alternator.
  3. Pull the multiple connector from the rear of the alternator.
  4. Remove the alternator adjusting arm bolt. Swing the alternator in and disengage the fan belt.
  5. On the 1,586cc and 1,796cc, remove the distributor cap and rotor from the distributor.
  6. Remove the alternator pivot bolt and remove the alternator from the truck.
  7. Installation is the reverse of the removal. Be sure to adjust the drive belt tension and to connect the battery properly.
Rotary Engine
  1. Disconnect the battery ground cable at the negative (–) terminal.
  2. Disconnect all of the leads from the alternator.
  3. Remove the alternator adjusting link bolt. Do not remove the adjusting link.
  4. Remove the alternator securing nuts and bolts. Withdraw the drive belt and remove the alternator.
  5. Installation is performed in the reverse order of removal. Adjust the drive belt tension as detailed below.

Previous Next