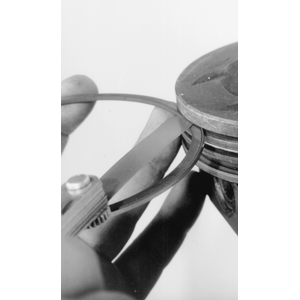
| Fig. 1: Checking the ring-to-ring groove clearance
|
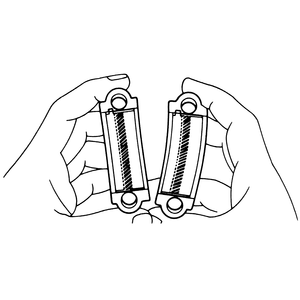
| Fig. 2: The notch on the the side of the bearing cap
matches the groove on the bearing insert
|
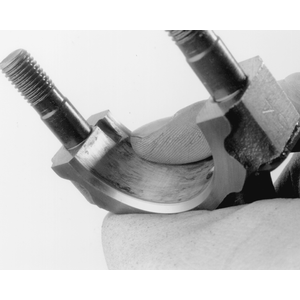
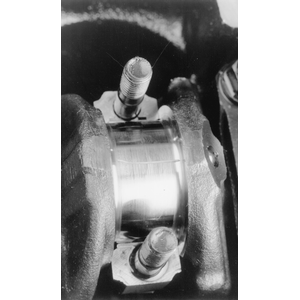
| Fig. 3: Inspect the rod bearings for scuffing or other
wear — also check the crankshaft journal
|
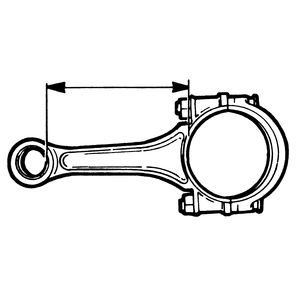
| Fig. 4: Measure the connecting rod length at these points
|
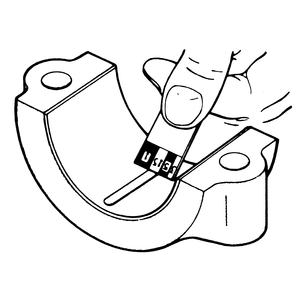
| Fig. 5: Measuring the connecting rod bearing oil clearance
with a strip of Plastigage® material
|
| Fig. 6: Apply a strip of gauging material to the bearing
journal, then install and torque the cap
|
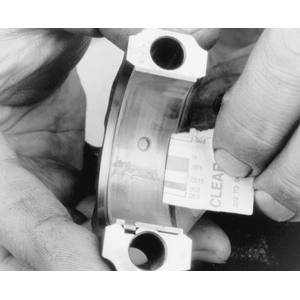
| Fig. 7: After the cap is removed again, use the scale
supplied with the gauge material to check clearances
|
The connecting rod bearings are designed to have a slight projection above
the rod and cap faces to insure a positive contact. The bearings can be replaced
without removing the rod and piston assemblies from the engine.
If you have already removed the connecting rod and piston assemblies from the
engine, follow only Steps 3–7 of the following procedure.
- Remove the oil pan. See the Oil Pan procedures, earlier in this section.
- With the connecting rod journal at the bottom, stamp the cylinder number
on the machined surfaces of the connecting rod and cap for identification
when installing, then remove the caps.
- Inspect journals for roughness and wear. Slight roughness may be removed
with a fine grit polishing cloth saturated with engine oil. Burrs may be removed
with a fine oil stone by moving the stone on the journal circumference. Do
not move the stone back and forth across the journal. If the journals are
scored or ridged, the crankshaft must be replaced.
- The connecting rod journals should be checked for out-of-round and correct
size with a micrometer.
NOTE: Crankshaft rod journals will normally be standard
size. If any undersized bearings are used, all will be 0.25mm undersize
and 0.25mm will be stamped on the number 4 counterweight.
If plastic gauging material is to be used:
- Clean oil from the journal bearing cap, connecting rod and outer and inner
surfaces of the bearing inserts. Position the insert so that the tang is properly
aligned with the notch in the rod and cap.
- Place a piece of plastic gauging material in the center of lower bearing
shell.
- Remove the bearing cap and determine the bearing clearances by comparing
the width of the flattened plastic gauging material at its widest point with
the graduation on the container. The number within the graduation on the envelope
indicates the clearance in thousandths of an inch or millimeters. If this
clearance is excessive, replace the bearing and recheck the clearance with
the plastic gauging material. Undersized bearings are available in sizes of
0.25mm, 0.50mm and 0.75mm. Lubricate the bearing with engine oil before installation.
Repeat Steps 2–7 on the remaining connecting rod bearings. All rods
must be connected to their journals when rotating the crankshaft, to prevent
engine damage.

