Previous Next

LIGHTING

Headlights

REMOVAL & INSTALLATION

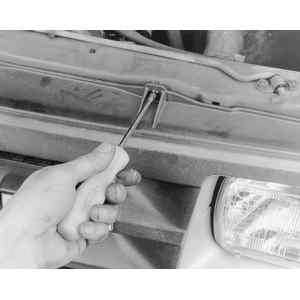
Fig. 1: To remove the headlights, remove the grille attaching screws . . .

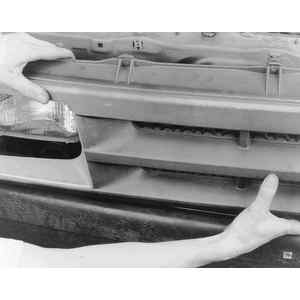
Fig. 2: . . . and the grille

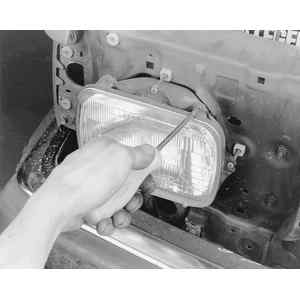
Fig. 3: Loosen the trim ring retaining bolts (Do NOT disturb the 2 headlight aiming screws; located at the center of the top and side of the trim ring) . . .

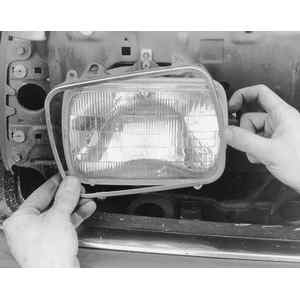
Fig. 4: . . . and remove the trim ring

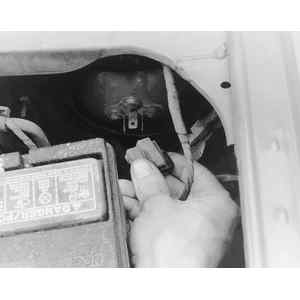
Fig. 5: Pull off the electrical connector from the back of the bulb . . .

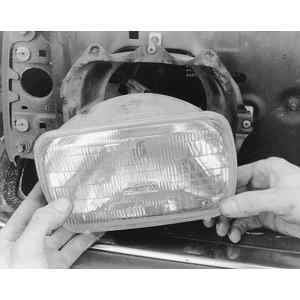
Fig. 6: . . . and remove the bulb

  1. Remove the radiator grille attaching screws and remove the grille.
  2. Remove the headlight bulb trim ring, by removing the three screws and rotating the ring clockwise. Support the headlight bulb and remove the trim ring.

    NOTE: Do not disturb the headlight aiming screws, which are installed in the housing next to the retaining screws.

  3. Pull the plug connector from the rear of the bulb and remove the bulb. To install:
  4. Connect the plug connector to the rear of a new headlight.
  5. Install the headlight in the housing, and locate the bulb tabs in the slots and the housing.
  6. Position the trim ring over the bulb and loosely install the retaining screws. Rotate the ring counterclockwise to lock it in position. Tighten the three attaching screws. Check the headlight operation.
  7. Install the grille.
  8. Have the headlight aim checked.

Previous Next