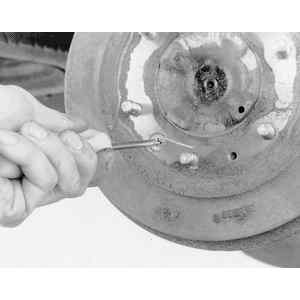
| Fig. 1: To remove the brake drums, matchmark the drum
to the center hub, then remove the drum attaching screws . . .
|
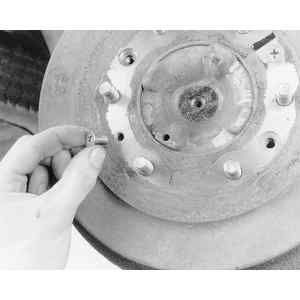
| Fig. 2: . . . and insert them into the threaded holes
in the drum — tighten the screws evenly to draw the drum
off the hub
|
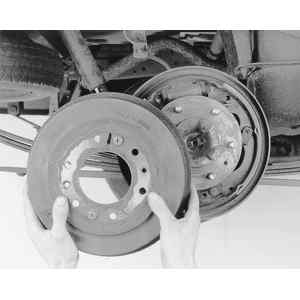
| Fig. 3: Once it is free of the center hub, grasp the
drum and pull it free of the rear axle
|
| Fig. 4: Look for hard or chill spots on the drum surface
|
| Fig. 5: If a tool mark ridge is visible in the drum,
measure the inside diameter to determine if the drum is over the maximum
allowable size; if so, the drum must be replaced
|
| Fig. 6: Look for small heat checks that may be able to
be machined out of the drum — excessive checking may require
replacement
|
| Fig. 7: If the drum is in good condition, lightly sand
the inside surface to deglaze the drum
|