Previous Next

Hood

REMOVAL & INSTALLATION

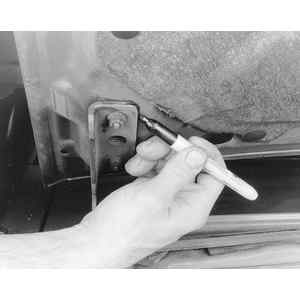
Fig. 1: Mark the hood hinge location on the hood . . .

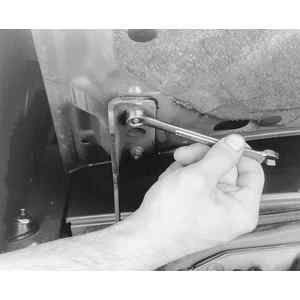
Fig. 2: . . . then remove the hood attaching nuts

NOTE: You are going to need an assistant for this job.

Models With Self-Supporting Hood
  1. Open the hood and trace the outline of the hinges on the body.
  2. While an assistant holds the hood, remove the cotter pin from the right side hood stop retaining pin.
  3. Remove the retaining pin and the hood stop.
  4. Tilt the hood forward and move the torsion bar to one side.
  5. Remove the hinge-to-body bolts and lift the hood off.
  6. Installation is the reverse of removal. Align the outlines previously made. Check that the hood closes properly. Adjust hood alignment, if necessary.
Models With Hood Prop

Fig. 3: Exploded view of the prop rod style hood components

Fig. 4: Hood-to-hinge attachment nuts for prop rod style hoods

  1. Outline the hinge position on the hood.
  2. Support the hood and remove the hinge-to-hood bolts. Lift off the hood.
  3. Installation of the hood is the reverse of removal. Check the hood for fit and closure. Adjust the hood alignment, if necessary.

Previous Next