Previous Next

Distributor

REMOVAL

  1. Disconnect the negative battery cable.
  2. Remove the distributor cap and position it aside, leaving the ignition wires connected.

    Fig. 1: Exploded view of a typical side mounted distributor

    Fig. 2: Exploded view of a typical end or inline mounted distributor

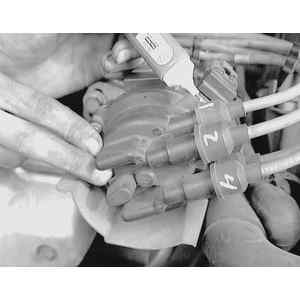
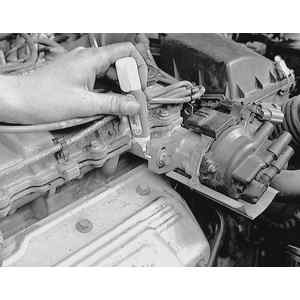
    Fig. 3: To remove the distributor, first label the spark plug wires attached to the cap with their cylinder numbers and disconnect them . . .

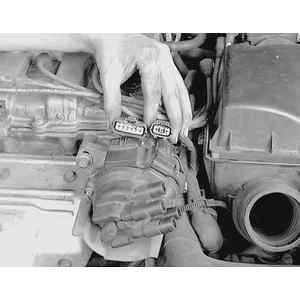
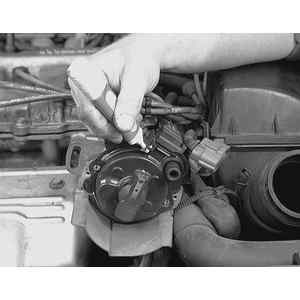
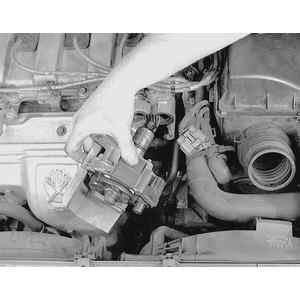
    Fig. 4: . . . as well as the distributor wire harness plugs

  3. On SOHC engines, remove the air intake hose from it's position next to the distributor.
  4. Disconnect the distributor electrical connector(s) from the side of the distributor.
  5. Using a wrench on the crankshaft pulley, rotate the crankshaft to position the No. 1 piston on Top Dead Center (TDC) of the compression stroke; the crankshaft pulley mark should align with the timing indicator and the distributor rotor should point towards the No 1. spark plug wire tower position of the cap.

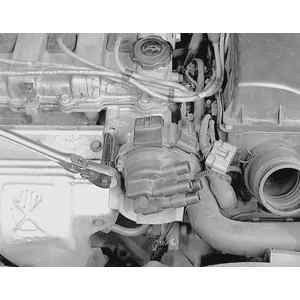
    Fig. 5: Matchmark the distributor body to the cylinder head

    Fig. 6: Remove the distributor retaining bolts and cap. Ensure that the matchmark made earlier is still in alignment

  6. Using chalk or paint, mark the position of the distributor housing on the cylinder head. Also mark the position of the distributor rotor in relation to the distributor housing.
  7. Remove the distributor hold-down bolt(s).
  8. On distributors attached to the end of the cylinder head (or inline with the camshaft), remove it by pulling it straight outward.

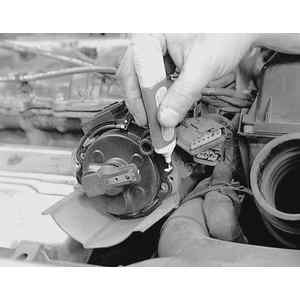
    Fig. 7: Make another matchmark on the distributor body to show the direction the rotor is pointing

    Fig. 8: On gear driven distributors (see text), pull out slowly and make a third matchmark where the rotor points (as it will rotate slowly)

    Fig. 9: Remove the distributor from the engine

  9. On distributors attached to the side of the cylinder head (or perpendicular with the camshaft), slowly pull it outward while watching the rotor. These distributors are gear driven and as you remove it, the gears will unmesh inside the engine, causing the rotor to rotate. when the rotor stops moving, stop pulling outward. Re-align the distributor body-to-cylinder head matchmark (do not push it back in to do this, simply rotate the body to align the marks). Place a third mark indicating the new rotor position-to-distributor body relation. When installing the distributor, align this mark and the body-to-head mark to properly position the distributor.
  10. Inspect the O-ring on the distributor housing and replace it, if it is damaged or worn.

Previous Next