Disassemble the driveshaft as shown in the exploded view. The clip (3) should be removed with a prytool, while the snapring (5) should be removed with snapring pliers or a similar tool.
| Fig. 1: Exploded view of the halfshaft assemblies
|
Pull the ball bearings, inner ring and cage out of the shaft while still assembled. Then insert a prytool between the inner ring and cage to gently pry each ball out. Finally, matchmark the cage and inner ring and then turn the cage 30 degrees and pull it off the inner ring.
Assemble in reverse order, being careful to repack bearings in the grease supplied with the kit in a thorough manner.
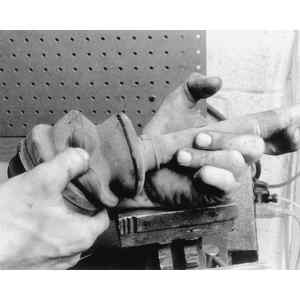
| Fig. 2:Check the CV-boot for wear
|
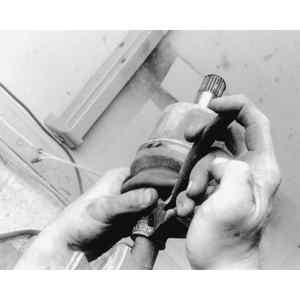
| Fig. 3:Remove the outer band from the CV-boot . . .
|
| Fig. 4:. . . then remove the inner band
|
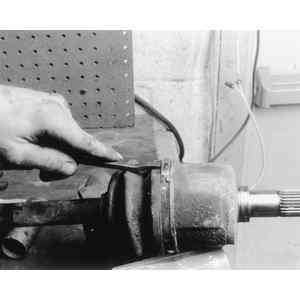
| Fig. 5:Clean the CV-joint housing prior to removing boot
|
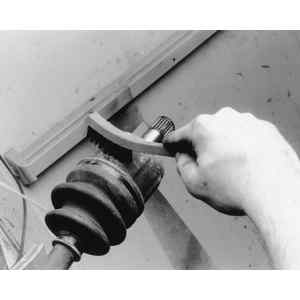
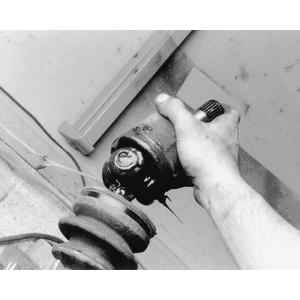
| Fig. 6:Removing the CV-joint housing assembly
|
| Fig. 7:Clean and inspect the CV-joint housing
|
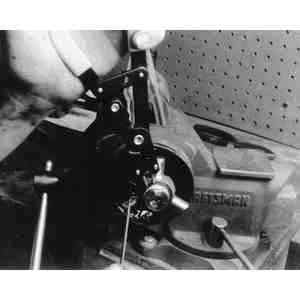
| Fig. 8:Remove the CV-joint outer snapring, then remove
the joint tripod
|