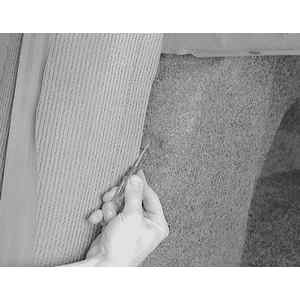
| Fig. 1: To remove the rear strut assembly, first
remove any trim fasteners inside the trunk . . .
|
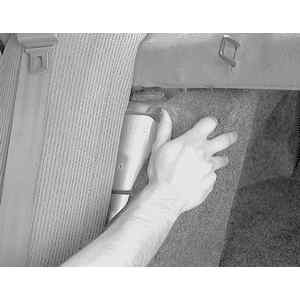
| Fig. 2: . . . and move the trim aside to gain access
to the upper strut mount retaining nuts
|
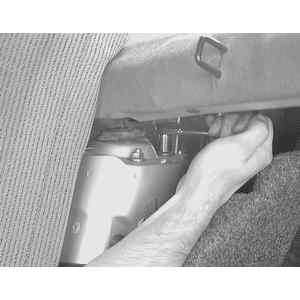
| Fig. 3: Loosen and remove the upper strut mounting
nuts
|
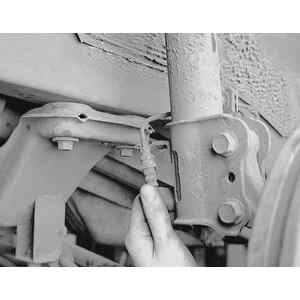
| Fig. 4: Remove the brake line-to-strut retaining
clip . . .
|
| Fig. 5: . . . and detach the brake line from the
strut
|
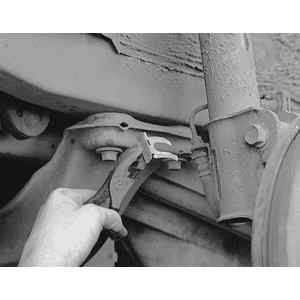
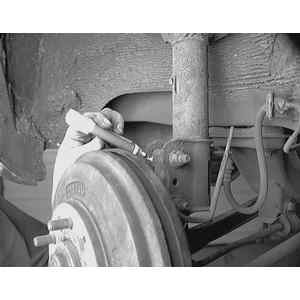
| Fig. 6: Matchmark the lower strut mounting . . .
|
| Fig. 7: . . . then loosen the lower mounting through-bolts
. . .
|
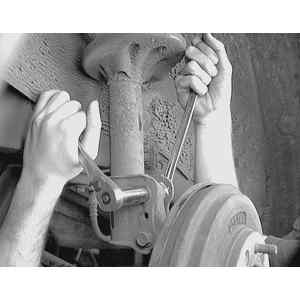
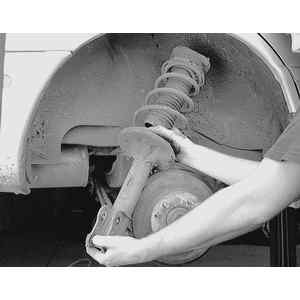
| Fig. 8: . . . and remove them. Make sure to support
the strut assembly
|
| Fig. 9: Remove the strut assembly from the vehicle
|
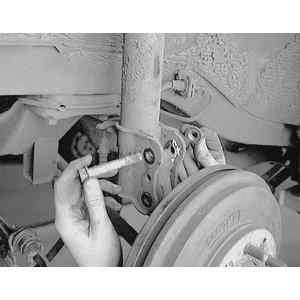
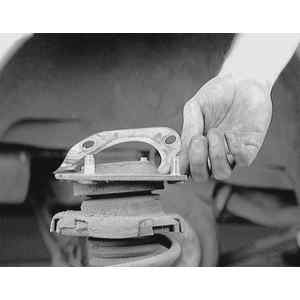
| Fig. 10: If necessary, replace the upper strut mount
gasket when installing
|