Previous Next

Steering Linkage

REMOVAL & INSTALLATION

Tie Rod Ends
  1. Raise and support the vehicle safely. Remove the wheel and tire assembly.

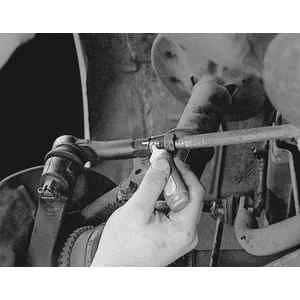
    Fig. 1: To remove the tie rod end, first loosen the jam nut and thread it back along the linkage shaft

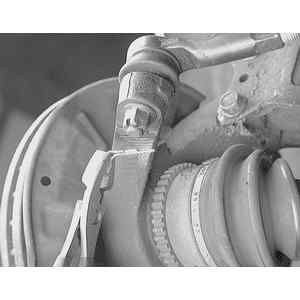
    Fig. 2: Paint a matchmark on the tie rod end and the linkage shaft

  2. Loosen the jam nut and thread it back along the linkage shaft. Ensure that the linkage shaft does not turn.

    Fig. 3: Remove the tie rod end nut cotter pin . . .

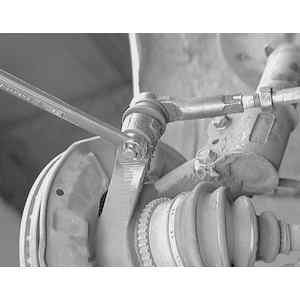
    Fig. 4: . . . then loosen, but do not remove, the tie rod-to-steering knuckle nut

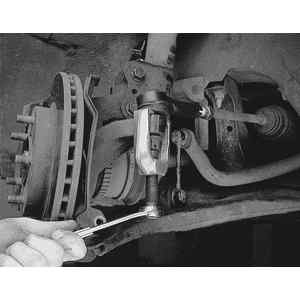
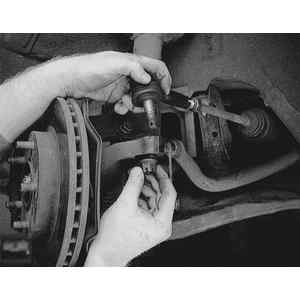
    Fig. 5: Using the nut to protect the tie rod end threads, press the end from the steering knuckle

  3. Paint a reference mark across the tie rod and shaft.
  4. Remove the cotter pin and loosen the nut on the tie rod end ball stud. With the nut protecting the ball stud, press the stud from the knuckle using press tool 49 0118 850C or equivalent. Remove the nut and the tie rod end from the knuckle.

    Fig. 6: Remove the nut and detach the tie rod end from the steering knuckle

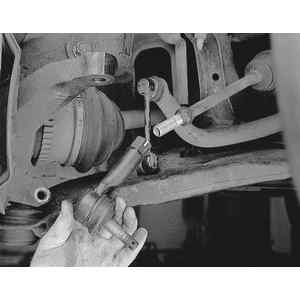
    Fig. 7: Unscrew the tie rod end from the steering linkage shaft

  5. Unscrew the tie rod end from the shaft.

    To install:

  6. Thread the tie rod onto the shaft and align the marks made during removal. If installing a new tie rod end, try to assemble it in the same position as the old one.
  7. Install the tie rod end into the knuckle. Install the nut and tighten specification.
  8. Install a new cotter pin. If the cotter pin cannot be installed because the ball stud hole and the nut castellation do not align, tighten the nut further until the cotter pin can be installed. Never loosen the nut to install the cotter pin.
  9. Tighten the jam nut.
  10. Install the wheel and tire assembly and lower the vehicle. Check the front wheel alignment.

Previous Next