NOTE: Check with your state and local authorities on the laws for state safety inspection. Some states or municipalities may not allow chip repair as a viable option for correcting stone damage to your windshield.
Although severely cracked or damaged windshields must be replaced, there is something that you can do to prolong or even prevent the need for replacement of a chipped windshield. There are many companies which offer windshield chip repair products, such as Loctite'sBullseyewindshield repair kit. These kits usually consist of a syringe, pedestal and a sealing adhesive. The syringe is mounted on the pedestal and is used to create a vacuum which pulls the plastic layer against the glass. This helps make the chip transparent. The adhesive is then injected which seals the chip and helps to prevent further stress cracks from developing. Refer to the sequence of photos to get a general idea of what windshield chip repair involves.
NOTE: Always follow the specific manufacturer's instructions.
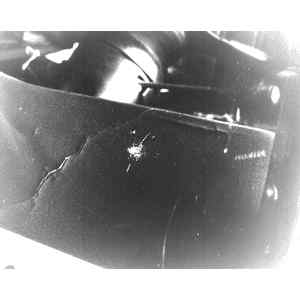
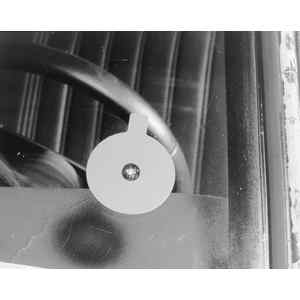
| Fig. 1: Small chips on your windshield can be fixed with
an aftermarket repair kit, such as the one from Loctite?
|
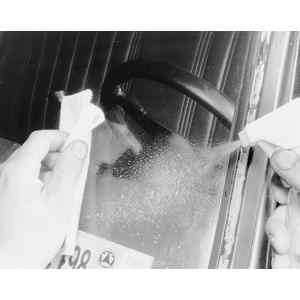
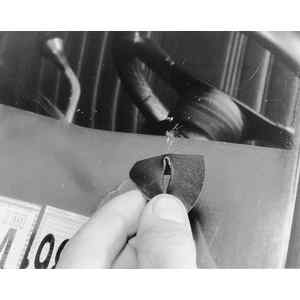
| Fig. 2: To repair a chip, clean the windshield with glass
cleaner and dry it completely
|
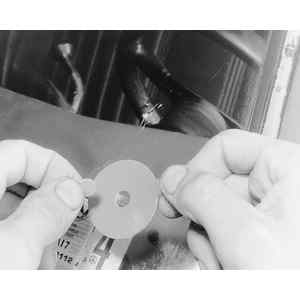
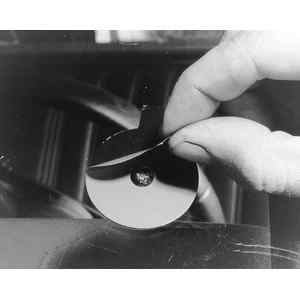
| Fig. 3: Remove the center from the adhesive disc and
peel off the backing from one side of the disc . . .
|
| Fig. 4: . . . then press it on the windshield so that
the chip is centered in the hole
|
| Fig. 5: Be sure that the tab points upward on the windshield
|
| Fig. 6: Peel the backing off the exposed side of the
adhesive disc . . .
|
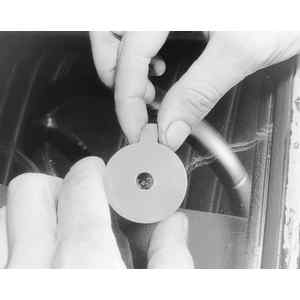
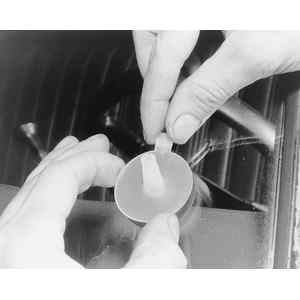
| Fig. 7: . . . then position the plastic pedestal on the
adhesive disc, ensuring that the tabs are aligned
|
| Fig. 8: Press the pedestal firmly on the adhesive disc
to create an adequate seal . . .
|
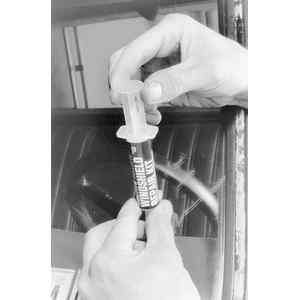
| Fig. 9: . . . then install the applicator syringe nipple
in the pedestal's hole
|
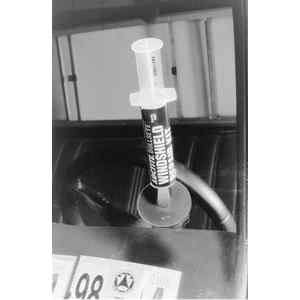
| Fig. 10: Hold the syringe with one hand while pulling
the plunger back with the other hand
|
| Fig. 11: After applying the solution, allow the entire
assembly to sit until it has set completely
|
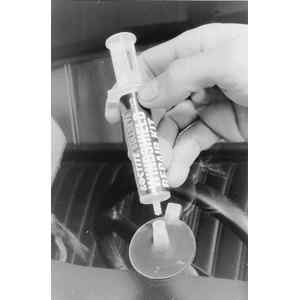
| Fig. 12: After the solution has set, remove the syringe
from the pedestal . . .
|
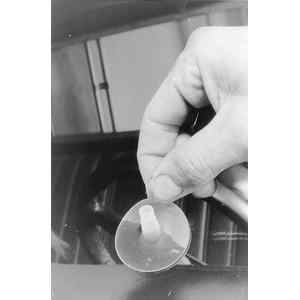
| Fig. 13: . . . then peel the pedestal off of the adhesive
disc . . .
|
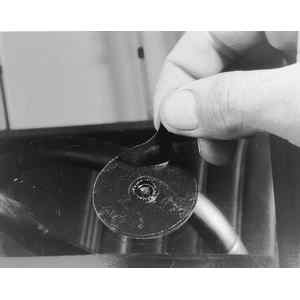
| Fig. 14: . . . and peel the adhesive disc off of the
windshield
|
| Fig. 15: The chip will still be slightly visible, but
it should be filled with the hardened solution
|