Before servicing the vehicle, refer to the precautions in the beginning
of this section.
Relieve the fuel system pressure.
Remove the negative battery cable.
Drain the cooling system.
Remove or disconnect the following:
Dynamic chamber cover
Charge air cooler air duct
Vacuum hoses and electrical connectors from the air cleaner housing
Air cleaner assembly
Fresh air ducts
Mass air flow sensor and the air intake hose from the throttle body
Resonator
Right-hand charge air cooler
Left-hand charge air cooler
Accelerator cable
Vacuum hoses from the rear of the intake manifold and Exhaust Gas Recirculation
(EGR) valve
EGR valve
Air intake pipe assembly
Charge air cooler pipe
Fuel supply line at the fuel rails and discard the copper washers
Fuel and vacuum lines from the fuel pressure regulator
Coolant hoses
Wiring harness from the intake manifold
Intake manifold mounting nuts and bolts in 2–3 steps
Intake manifold
Fuel hoses and electrical connectors from the throttle body
Throttle body
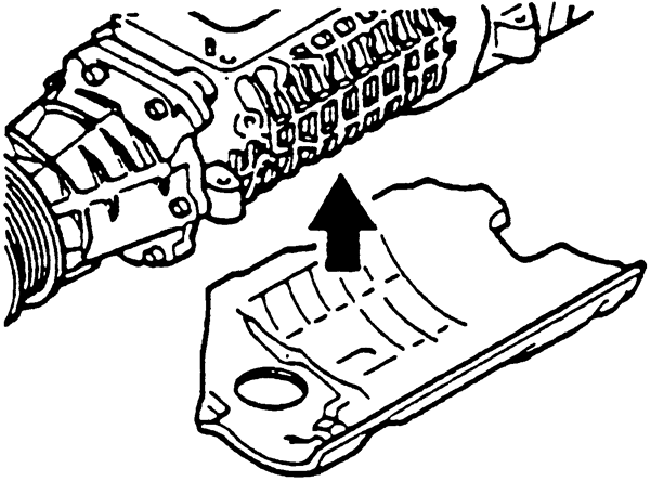
Drive belt from the compressor (supercharger)
Mounting bolts from the compressor
Compressor
To install:
Clean all gasket mating surfaces.
Position the rubber shield for the compressor onto the compressor using
double sided adhesive tape.
Install or connect the following:
Compressor. Tighten the nuts to 14–18 ft. lbs. (19–25 Nm).
Compressor drive belt
Fig. 1: When installing the compressor, ensure
that the rubber insulating pad is temporarily affixed to the compressor
Throttle body. Tighten the nuts/bolts to 14–18 ft. lbs. (19–25
Nm).
Fuel hoses and electrical connectors
Intake manifold using a new gasket. Tighten the nuts/bolts in 2–3
steps, from the center to the ends, to 14–18 ft. lbs. (19–25
Nm).
Wiring harness onto the intake manifold
Coolant hoses
Fuel and vacuum lines to the fuel pressure regulator
Fuel supply line to the fuel rail using new copper crush washers
Charge air cooler pipe
Position the air intake pipe assembly using new gaskets
Hand-tighten the nuts/bolts in the order shown until the air intake pipe
contacts the intake manifold. Verify that the rubber gaskets are not twisted
or distorted. Tighten the bolts marked A to 70–95 inch
lbs. (8–11 Nm) and all others, in sequence, to 14–18 ft. lbs.
(19–25 Nm).
Install or connect the following:
EGR valve using a new gasket
Vacuum hoses to the intake manifold and EGR valve
Accelerator cable and adjust it
Left and right-hand charge air coolers using new gaskets. Hand-tighten
the nuts/bolts in the order shown until the air intake pipes and charge
air coolers contact the intake manifold. Verify that the rubber gaskets
are not twisted or distorted.
Tighten the charge air cooler bolts to:
Marked A: 44–78 inch lbs. (5–9 Nm)
Marked B: to 70–95 inch lbs. (8–11 Nm)
All others, in sequence: 14–18 ft. lbs. (19–25 Nm).
Install or connect the following:
Resonator. Tighten the nuts/bolts to 12–16 ft. lbs. (16–22
Nm).
Air intake hose onto the throttle body
Mass air flow sensor
Fresh air ducts
Air cleaner assembly
Vacuum hoses and electrical connectors to the air cleaner housing
Charge air cooler air duct. Tighten the bolts to 70–95 inch lbs.
(8–11 Nm).