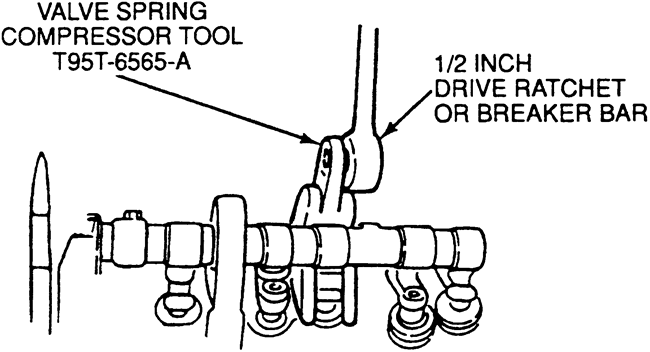
NOTE: A special tool is required to compress the valve spring.
NOTE: If removing more than one cam follower, label them so they can be returned to their original position.
| Fig. 1: To remove the cam follower (rocker arm),
use the special tool to depress the valve spring, then remove the
cam follower — 2.3L and 2.5L engines
|
To install:
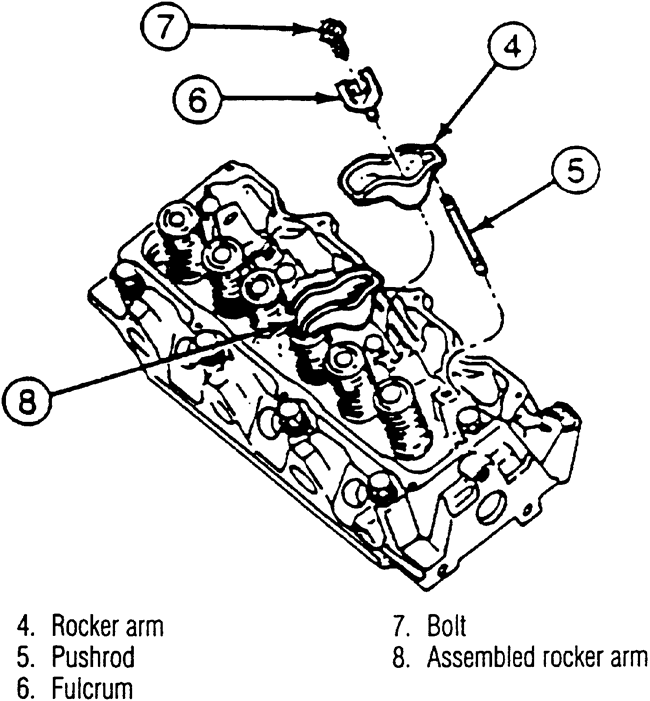
| Fig. 2: Exploded view of the rocker arm assembly — 3.0L
engine
|
To install:
To install:
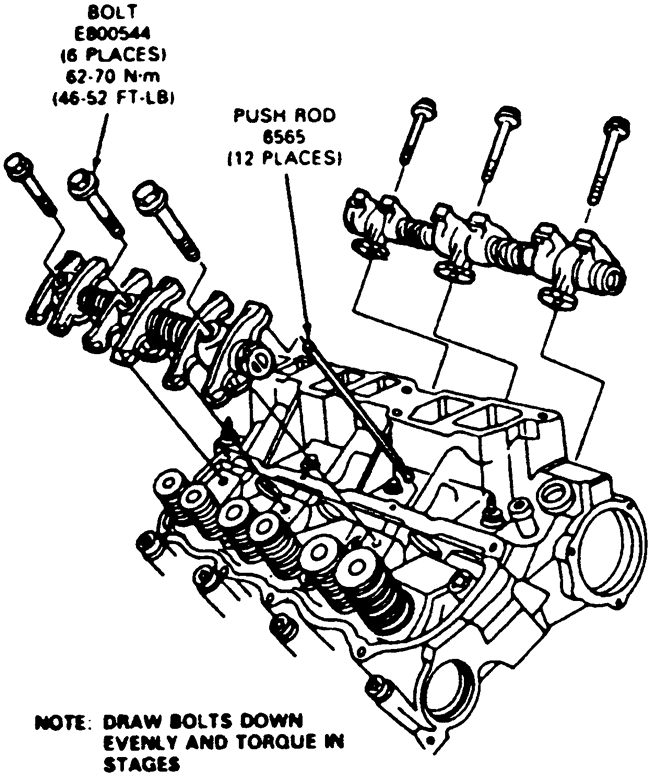
| Fig. 3: Rocker arm and shaft assembly — 4.0L
OHV engine
|