To Remove:
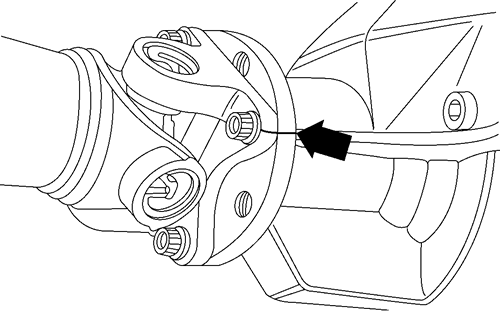
| Mark the alignment of the driveshaft flange to the rear axle pinion flange
|
NOTE: Be sure that the marks on the extension housing and driveshaft are aligned before separation.
NOTE: Once the driveshaft has been removed, put an alignment mark on the transmission output shaft that matches the transmission extension housing mark.
CAUTION
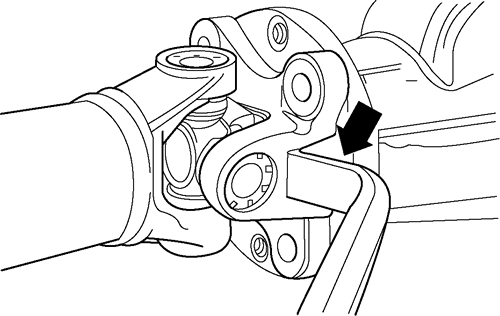
The driveshaft flange fits tightly on the rear axle pinion flange pilot. Never hammer on the driveshaft or any of its components to disconnect the driveshaft flange from the pinion flange. Using an appropriate tool, pry only in the area shown, to disconnect the driveshaft flange from the pinion flange.
| Separate the driveshaft flange from the rear axle pinion flange
|
To Install:
CAUTION
If new bolts are not available to fasten the driveshaft to the axle, coat the threads of the original bolts with the appropriate threadlock and sealer.
CAUTION
The driveshaft flange fits tightly on the rear axle pinion flange pilot. Tighten the bolts evenly in a cross pattern to ensure that the driveshaft flange sits squarely on the pinion flange.