Replacing the air cleaner element is a simple, routine maintenance operation. You should be careful, however, to keep dust and dirt out of the air cleaner housing, as they accelerate engine wear. If the outside of the air cleaner housing is dusty, wipe it with a clean, lint-free rag before beginning work.
On carburetor equipped engines, you typically have to remove only the top cover of the air cleaner. Remove the wingnut at the center of the housing and unfasten the three clips situated around the sides. Then, pull the top cover off and remove the air cleaner element. When installing the new element, make sure it seats squarely around the bulge in the center of the lower air cleaner housing. Install the housing top, turning it until the wingnut mounting stud lines up with the hole in the top (it's usually off center). Note that the top cover should seat tightly all around. Install the wingnut and fasten the clips.
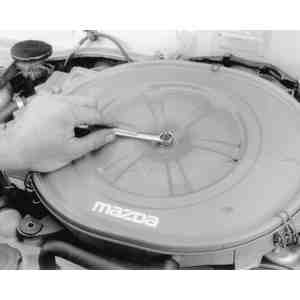
| Fig. 1: On vehicles equipped with a carbureted engine,
remove the nut on top of the air cleaner housing
|
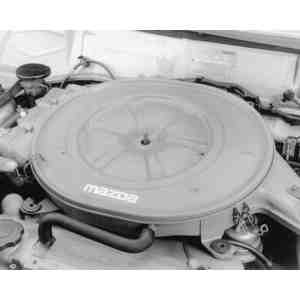
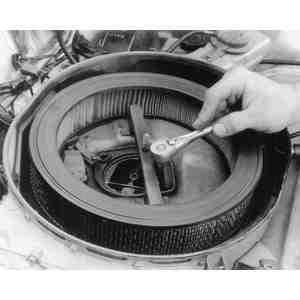
| Fig. 2: Unlatch the clips around the perimeter of the
air cleaner assembly
|
On fuel injected models, loosen the clamp on the air intake hose and pull the hose off the housing. Then, disconnect the airflow sensor electrical connector. Finally, unbolt and remove the housing. Note the direction in which the element is positioned and install the new element in the same way (it may be marked TOP). Install the top of the housing in reverse order.
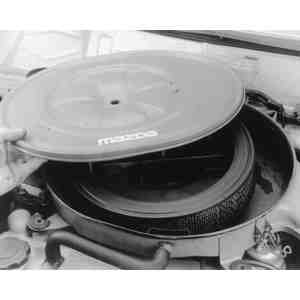
| Fig. 3: Remove the cover to expose the air cleaner element
|
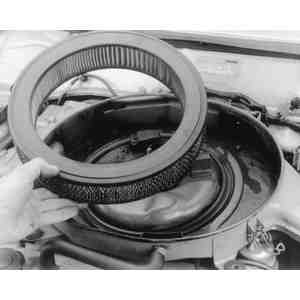
| Fig. 4: Lift out the used air cleaner element
|
| Fig. 5: The air cleaner element of carburetor equipped
vehicles may be cleaned with compressed air
|
| Fig. 6: A disposable breather element may also be found
inside the air cleaner assembly
|
In order to access the carburetor/throttle body or other component(s) beneath the air cleaner assembly, it may be necessary to remove the entire air cleaner assembly. Disconnect all hoses and vacuum lines leading to the air cleaner assembly (it may be helpful to tag these lines for easier installation), and remove the necessary fasteners. Installation is the reverse of removal.
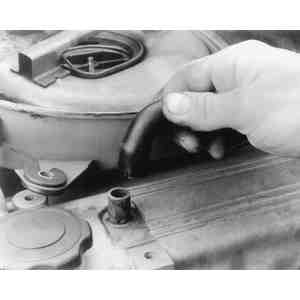
| Fig. 7: Disconnect the hose at the rocker arm cover
|
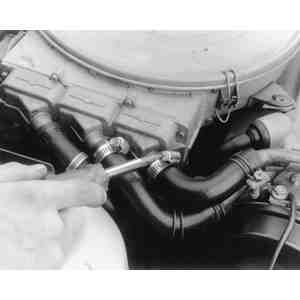
| Fig. 8: Disconnect the hoses at the reed valve assembly
|
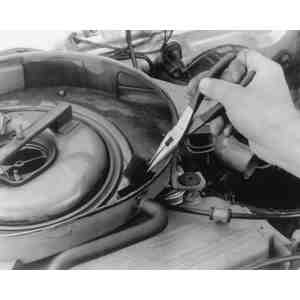
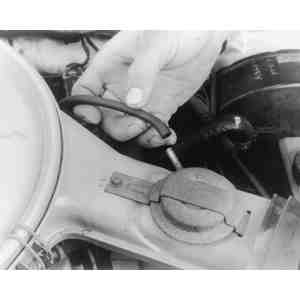
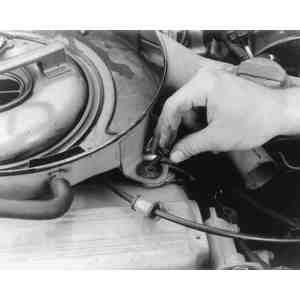
| Fig. 9: Disconnect the vacuum line at the air cleaner's
vacuum diaphragm
|
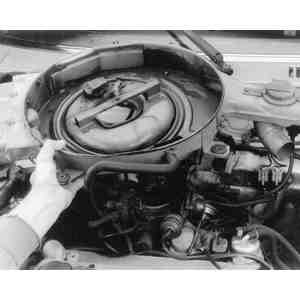
| Fig. 10: Remove the exterior bolts securing the air cleaner
assembly
|
| Fig. 11: Remove any fasteners securing the assembly to
the carburetor air horn, but be VERY CAREFUL not to drop them into the
carburetor
|
| Fig. 12: After disconnecting/removing all hoses and fasteners,
lift the air cleaner assembly from the engine
|