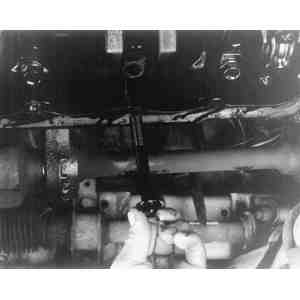
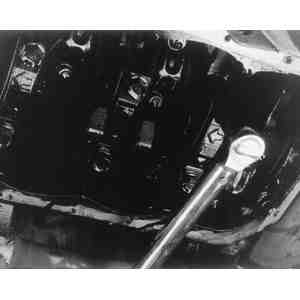
| Fig. 1: Unfasten the main bearing cap bolts . . .
|
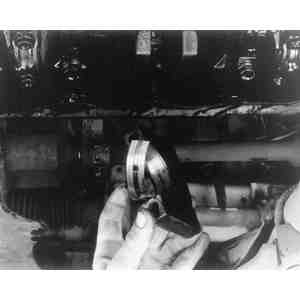
| Fig. 2: . . . then remove each cap and bearing
|
| Fig. 3: Measure the length of each main bearing bolt
before installation, and replace any that are out-of-range — 3.0L
engine
|
NOTE: You might want to check crankshaft end-play and main bearing oil clearances (as described under the installation procedure) at this time, before removing the bearing caps and crankshaft. In any event, be sure to check them when the crankshaft is reinstalled or replaced.
To install:
| Fig. 4: Main bearing cap bolt torque sequence — 3.0L
engine
|
| Fig. 5: Use a torque wrench to properly torque the
cap bolts
|
| Fig. 6: Insert new side seals in the rear main cap
grooves with their holes facing forward and backward — GLC
and 1979–82 626 engines
|
| Fig. 7: Mount a dial gauge against the end of the
crankshaft to measure end-play
|
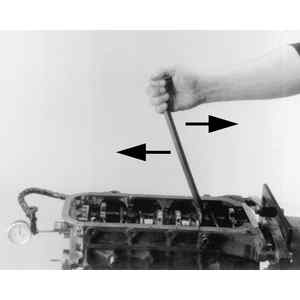
| Fig. 8: Carefully pry the shaft back and forth while
reading the dial gauge
|