NOTE: This procedure applies to engines with timing belts,
on which the seal is located at the front of the oil pump body instead of in
the engine front (timing belt) cover.
- Remove the timing belt covers, timing belt, and timing belt crankshaft pulley,
as described later in this section.
| Fig. 1: Unfasten and remove the timing belt crankshaft
pulley lockbolt
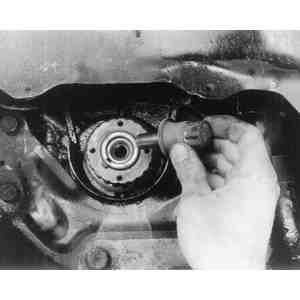
|
| Fig. 2: If necessary, attach a puller and . . .

|
| Fig. 3: . . . remove the timing belt crankshaft pulley
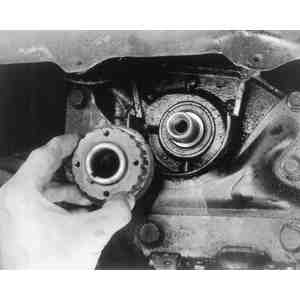
|
| Fig. 4: Carefully pry out the oil pump body oil seal
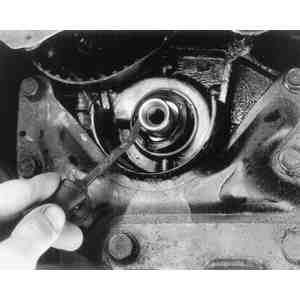
|
| Fig. 5: After coating the lip of the new seal with
oil, gently tap it into place
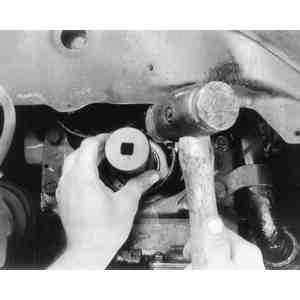
|
- With a small prytool, carefully pry the seal out of the front cover. Be
careful not to damage the bore of the oil pump housing with the screwdriver
blade.
- Clean the seal bore out thoroughly. No dirt or grease should be allowed
to remain inside the bore, since such foreign matter will cause premature
failure of the new oil seal.
To install:
- Coat the lip of the new seal with engine oil. Using a piece of pipe or a
socket slightly smaller than the bore of the oil pump (and about the diameter
of the seal itself), tap a new seal into place. Position the seal so its front
edge is aligned with the front edge of the oil pump body.
- Install the timing belt crankshaft pulley, timing belt and timing belt covers
in reverse order of their removal.

