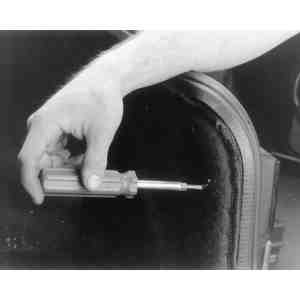
Some instrument, marker and other bulbs are accessible without removing the lens. To service these bulbs, grasp and twist the socket from the rear, then withdraw the socket and bulb assembly. Simply pull out the bulb and push in a replacement, then reposition and twist the socket in place.
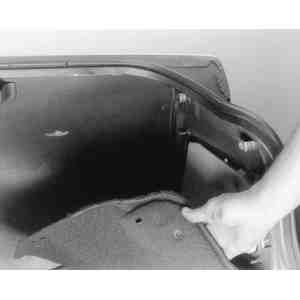
NOTE: The access to some rear light bulbs is often hidden behind carpeting or other interior trim.
To install:
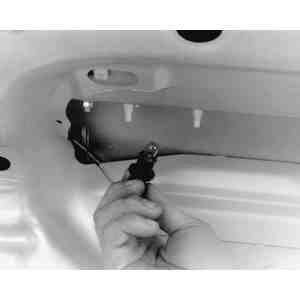
| Fig. 1: Some bulbs are easily removed after twisting
and removing the socket . . .
|
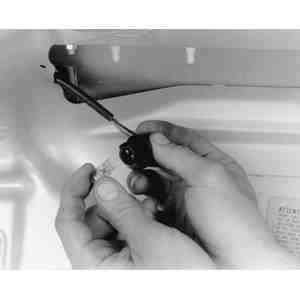
| Fig. 2: . . . then pulling the bulb straight out
|
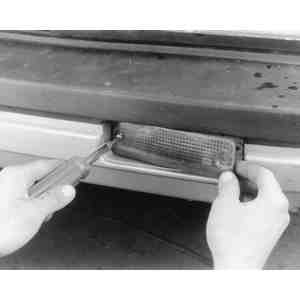
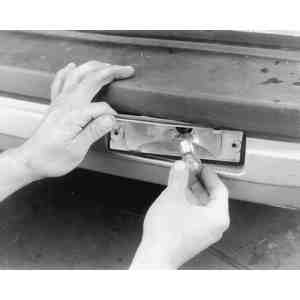
| Fig. 3: On some applications, the lens must be removed
in order to access the bulb
|
| Fig. 4: Signal light bulbs often have locking pins
on their bases. These bulbs must be depressed, then twisted slightly,
before they can be removed
|
| Fig. 5: In order to reach some rear light bulbs,
you must unfasten . . .
|
| Fig. 6: . . . and remove a carpeted trim panel
|
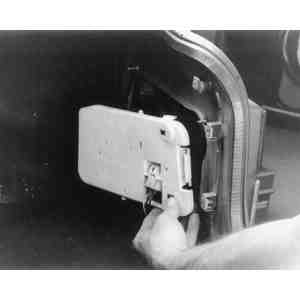
| Fig. 7: If applicable, disengage the locking tangs
which secure the rear light cluster
|
| Fig. 8: Once the cluster is removed, its bulbs can
be easily serviced
|