Previous Next

Tie Rod Ends

REMOVAL & INSTALLATION

  1. If an alignment machine is not available, measure the length of the tie rod you'll be working on. Remove the cotter pin(s) and castellated nut(s) from one or both ends of the rod, depending on whether one or both ends require replacement.

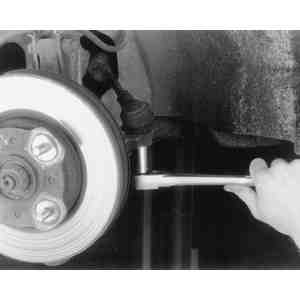
    NOTE: Mark the relationship between the flats of the tie rod end nut and the tie rod before loosening the nut.

  2. Place a wrench on the flat portion of the tie rod end to hold it stationary and loosen the locknut with a second wrench.
  3. Use a tie rod end puller to free either or both ends from the steering knuckle or center link. Mazda sells a puller (tool no. 49-0118-850C) designed specifically for this purpose.
  4. Unscrew the end from the tie rod.

    Fig. 1: Make tie rod end alignment marks before loosening the components

    Fig. 2: Replacing rear wheel drive GLC tie rod ends

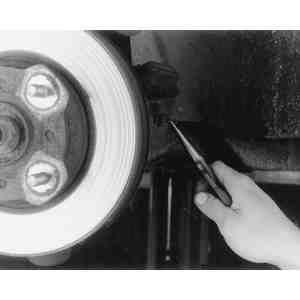
    Fig. 3: Remove the cotter pin which passes through the castellated nut and tie rod end

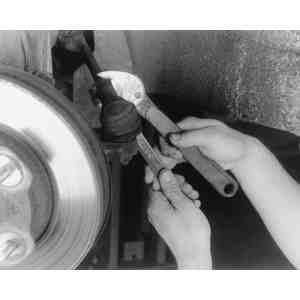
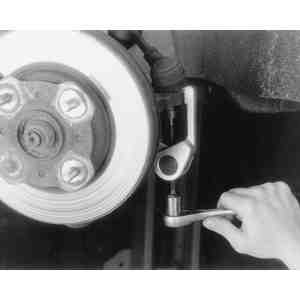
    Fig. 4: Loosen the locknut while holding the tie rod end stationary with another wrench

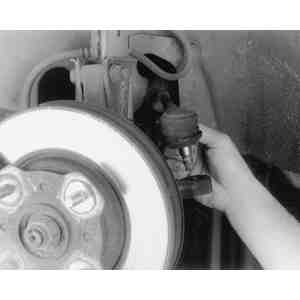
    Fig. 5: Remove the castellated nut with a socket wrench

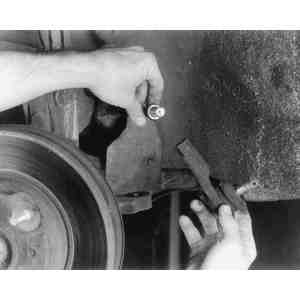
    Fig. 6: Separate the tie rod end from the steering knuckle (or center link) with a specialized puller

    Fig. 7: Lift the tie rod end until its stud is free of the steering knuckle

    Fig. 8: Unscrew and remove the tie rod end

    Fig. 9: Tie rod ends and related components — rear wheel drive 626

    To install:

  5. Loosen the tie rod locknuts, then insert the rod ends through the holes in the steering knuckle and/or center link. If only one end is being replaced, screw the end onto the tie rod, then position the ballstud through the steering knuckle (or center link). Install the castellated nut(s) and torque them to 22–33 ft. lbs. (30–45 Nm), then install new cotter pin(s).
  6. If an alignment machine is available, adjust the toe-in, then torque the tie rod locknuts to 51–58 ft. lbs. (69–79 Nm). If the car must be taken to a shop for alignment, turn the tie rod so that the length is the same as it was before the part(s) were replaced, torque both locknuts and have the toe-in checked as soon as possible.

Previous Next