Previous Next

REMOVAL & INSTALLATION

Rear Wheel Drive Vehicles
  1. Remove the wheel disc and loosen the lug nuts.
  2. Raise the rear of the car and support it with jackstands.
  3. Remove the lug nuts and the rear wheel.
  4. Be sure that the parking brake is fully released.
  5. Remove the bolts or screws which secure the drum to the rear axle shaft flange or center locknut.

    NOTE: If the drum will not come off easily, screw the drum securing bolts into the two tapped holes in the drum. Tighten the bolts evenly in order to force the drum away from the flange.

  6. Adjust the shoes after installation is completed or prior to installation on GLC.
Front Wheel Drive GLC, 323, 626 and MX-6
  1. Loosen the rear wheel lugnuts. Raise the vehicle and support it securely. Remove the lugnuts and wheel.
  2. If equipped, carefully pry off the hub (grease) cap.

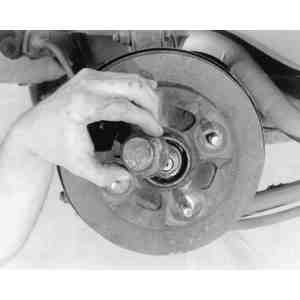
    Fig. 1: Remove the grease cap to expose the hub retainer

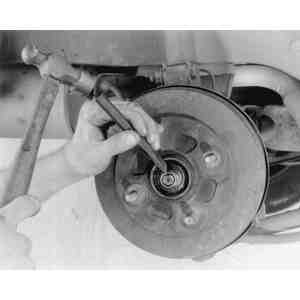
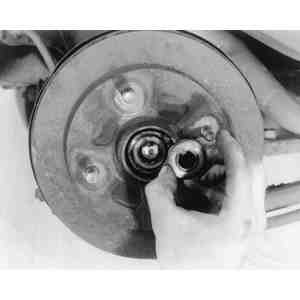
    Fig. 2: Use a hammer and chisel to carefully unstake the locknut

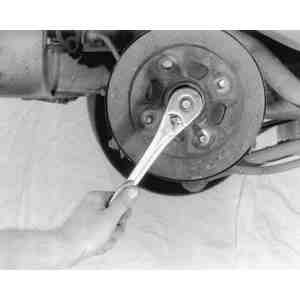
    Fig. 3: Use a socket wrench to loosen . . .

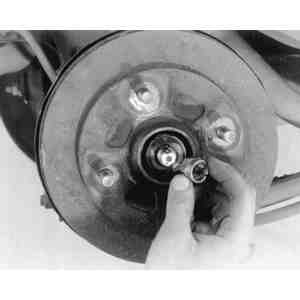
    Fig. 4: . . . then remove the locknut

    Fig. 5: The hub washer seats against the outer bearing

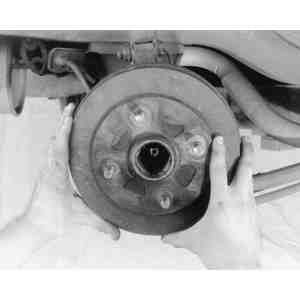
    Fig. 6: Grasp the brake drum by its edges . .

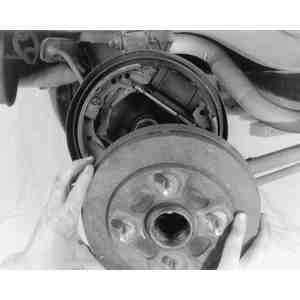
    Fig. 7: . . . and pull it away from the vehicle

  3. Unstake the locknut and remove it. Pull off the drum, being careful to catch the washer and bearings if they fall out of the center of the drum. If it is difficult to remove the drum:

    To install:

  4. Install the brake drum with the washer and bearing. Install a new locknut and adjust the preload as described in Section 8. On 1988–89 626s and MX-6s, torque the locknut to 72–130 ft. lbs. (98–176 Nm).

    NOTE: Be sure to stake the new locknut when the preload adjustment is complete.

  5. If equipped, install the grease cap.
  6. Install the rear wheels and lower the vehicle.

Previous Next