Previous Next

Hood

REMOVAL & INSTALLATION

NOTE: You will need an assistant to perform this procedure.

  1. Open the hood and support it securely. Mark the hinge locations on the hood.
  2. On 1988–89 626, MX-6 and 929, disconnect the windshield washer hose from its retaining clamp. If the hood is being replaced, it may be necessary to remove the hood insulator fasteners (using the proper tool) and hood insulator, the front seal rubber insulators and seal rubber for transfer to the replacement hood.
  3. Have an assistant hold the hood in the up position. If equipped, lower the hood support. On 1988–89 929s, disconnect the stay damper from both sides of the hood by removing the ball studs.

    Fig. 1: Mark the hinge locations on the hood

    Fig. 2: Hood insulator fastener removal tool

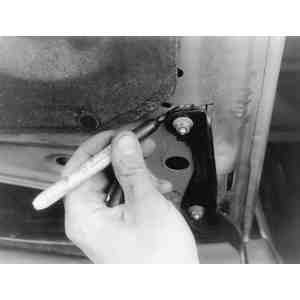
    Fig. 3: Use a socket wrench to unfasten the hood retaining bolts

  4. Unfasten the hinge-to-hood bolts and remove the hood from the vehicle.

    NOTE: On the RX-7, if hood replacement is necessary, do not replace steel hoods with aluminum hoods without also replacing the hood hinges. Aluminum hoods require special hinges that are electrically insulated to prevent electrolytic corrosion. Also, be advised that hood locks are not interchangeable. The strength of the locks is different for each type of hood.

  5. Position the hood against the hinges, using the marks made previously on the hood to help with alignment.
  6. Have an assistant hold the hood in position. Install the hinge-to-hood bolts, then raise the hood support, if so equipped. On 1988–89 929, connect the stay dampers to the hood and torque the ball studs to 14–19 ft. lbs. (19–26 Nm). In 1988–89 626, MX-6 and 929, connect the windshield washer hose. If applicable, also install the front seal rubber, seal rubber insulators, hood insulator and fasteners.
  7. Tighten all bolts securely and check the hood for proper alignment.

Previous Next