Pickups:
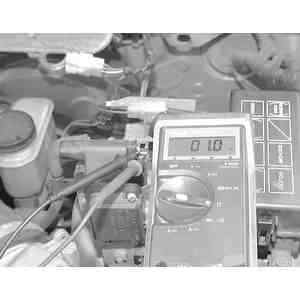
| Fig. 1: Ignition coil primary resistance test — 2.2L
carbureted engine (left), 2.6L fuel injected engine (right)
|
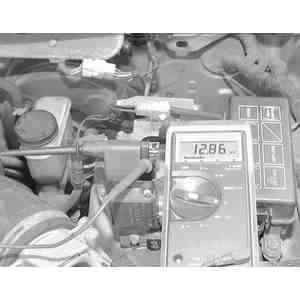
| Fig. 2: Checking the primary ignition coil reesistance — 3.0L
engine
|
MPV
Pickups
| Fig. 3: Ignition coil secondary resistance test — Coil
for carbureted engine shown
|
MPV
Pickups
| Fig. 4: Checking the ignition coil secondary
resistance — 3.0L engine (MPV)
|
MPV
If the coil tests out ok, replace the igniter and pickup coil. However, you should make sure before doing this work that there are no basic maintenance problems in the secondary circuit of the system, since it is often impossible to return electrical parts. We suggest that before you replace the igniter and pickup coil, you carefully inspect the cap and rotor for carbon tracks or cracks and disconnect the wires and measure their resistance with an ohmmeter. Resistance should be 16k ohms per 3.28 ft. (1m). Also, check for cracks in the insulation. Replace secondary parts as inspection/testing deems necessary before replacing the igniter and pickup coil.