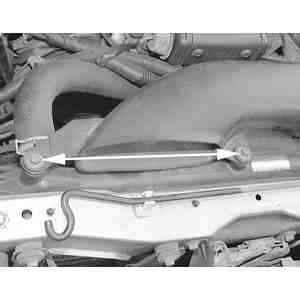
| Fig. 1: If necessary, remove the two air inlet duct mounting
bolts . . .
|
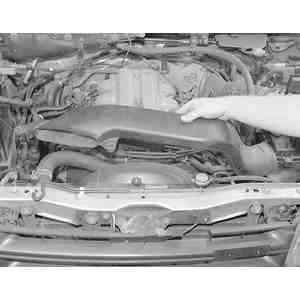
| Fig. 2: . . . then remove the air inlet duct from the
engine compartment
|
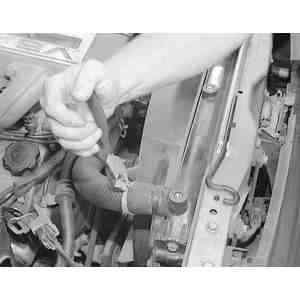
| Fig. 3: Using pliers or an equivalent tool, compress
the upper radiator hose clamp and move the clamp away from the radiator,
then disconnect the hose from the radiator
|
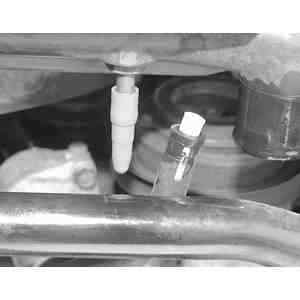
| Fig. 4: Disconnect the rubber radiator-to-overflow tank
hose at the radiator
|
| Fig. 5: When removing the radiator, if equipped with
an automatic transmission, disconnect the fluid cooler lines . . .
|
| Fig. 6: . . . then plug the cooler lines and the openings
in the radiator
|
CAUTION
When draining the coolant, keep in mind that cats and dogs are attracted
by the ethelyne glycol antifreeze, and are quite likely to drink any that
is left in an uncovered container or in puddles on the ground. This will
prove fatal in sufficient quantity. Always drain the coolant into a sealable
container. Coolant should be reused unless it is contaminated or several
years old.
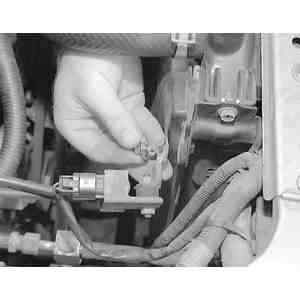
| Fig. 7: On 4 cylinder equipped models, remove the
purge solenoid valve and mounting bracket
|
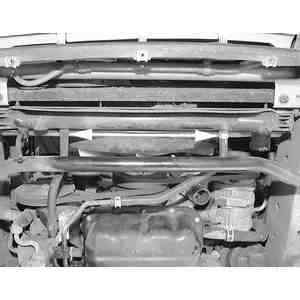
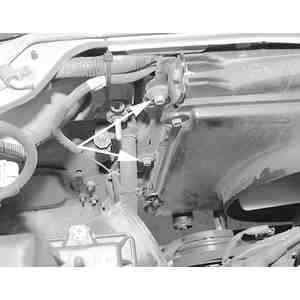
| Fig. 8: Remove the left side radiator mounting bolts
. . .
|
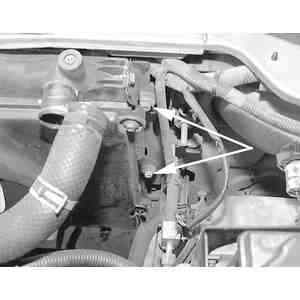
| Fig. 9: . . . then remove the two right side radiator
mounting bolts
|
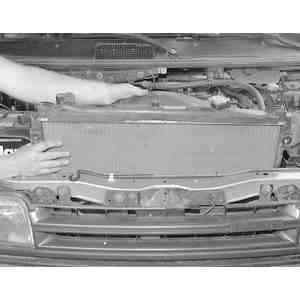
| Fig. 10: Lift the radiator and shroud assembly out
of the vehicle, with the engine fan in the shroud opening
|
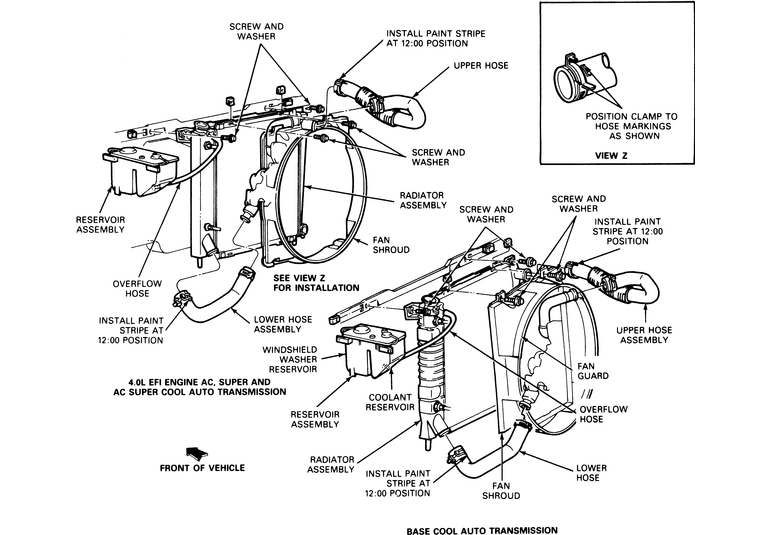
| Fig. 11: Radiator assembly removal/installation — automatic
transmission
|
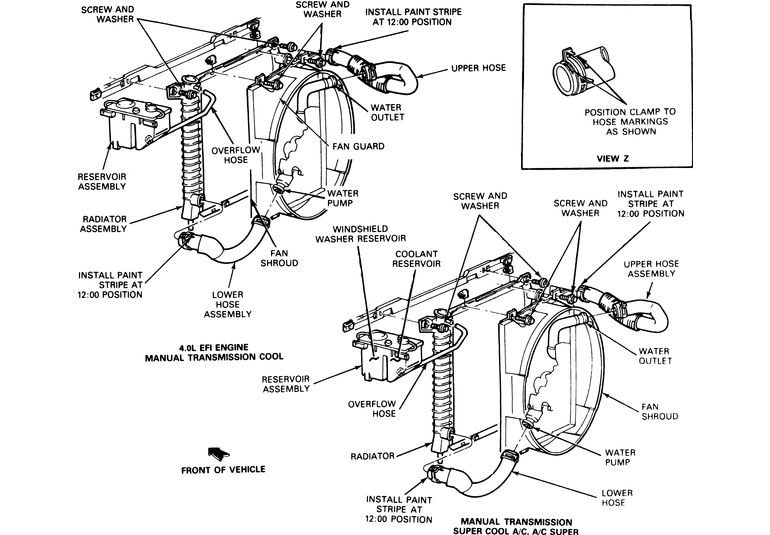
| Fig. 12: Radiator assembly removal/installation — manual
transmission
|
CAUTION
When draining the coolant, keep in mind that cats and dogs are attracted
by the ethylene glycol antifreeze, and are quite likely to drink any that
is left in an uncovered container or in puddles on the ground. This will
prove fatal in sufficient quantity. Always drain the coolant into a sealable
container. Coolant should be reused unless it is contaminated or several
years old.