Relieve the fuel system pressure and disconnect the negative battery cable.
Remove the fuel filler cap. Raise and safely support the vehicle.
Position a suitable container under the fuel tank. Remove the drain plug
and drain the tank.
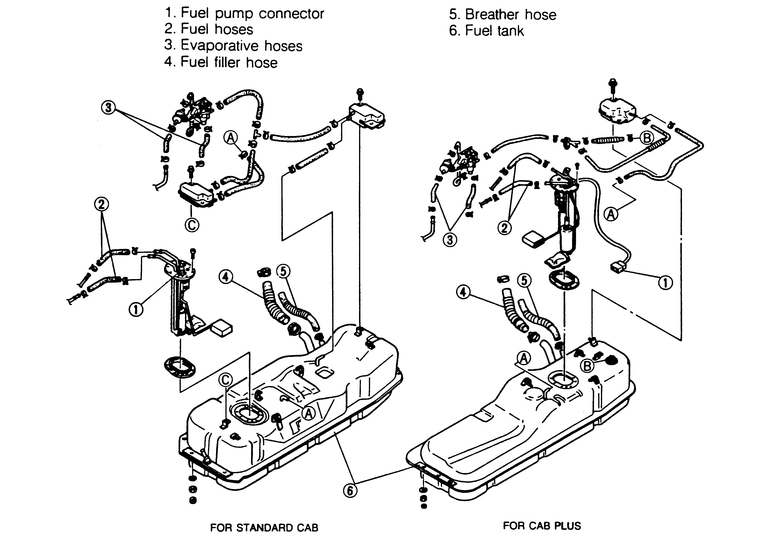
Disconnect the electrical connector from the sending unit or sending unit/fuel
pump assembly.
Disconnect the fuel filler hose, evaporative hoses, breather hose and fuel
lines.
Position a jack under the fuel tank and remove the tank attaching nuts.
Lower the tank from the vehicle.
To install:
Raise the tank into position and install the attaching nuts. Remove the
jack.
Connect the fuel lines and evaporative hoses, making sure they are pushed
onto the fuel tank fittings at least 1 inch (25mm). Connect the breather hose.
Connect the fuel filler hose, making sure the hose is pushed onto the fuel
tank pipe and filler pipe at least 1.4 inch (35mm).
Connect the electrical connector to the sending unit or sending unit/fuel
pump assembly.
Install the drain plug and lower the vehicle.
Fill the fuel tank and install the filler cap. Check for leaks.
Relieve the fuel system pressure and disconnect the negative battery cable.
Remove the fuel filler cap. Raise and safely support the vehicle.
Position a suitable container under the fuel tank. Remove the drain plug
and drain the tank.
Disconnect the fuel pump electrical connector.
Disconnect the fuel lines, evaporative hoses, breather hose and fuel filler
hose.
Support the tank with a jack. Remove the retaining bolts and the fuel tank
straps.
Lower the fuel tank from the vehicle.
To install:
Raise the fuel tank into position and install the straps and retaining bolts.
Tighten to 32–44 ft. lbs. (43–61 Nm). Remove the jack.
Connect the fuel lines and evaporative hoses, making sure they are pushed
onto the fuel tank fittings at least 1 inch (25mm). Connect the breather hose.
Connect the fuel filler hose, making sure the hose is pushed onto the fuel
tank pipe and filler pipe at least 1.4 inch (35mm).
Connect the fuel pump electrical connector.
Install the drain plug and lower the vehicle.
Fill the fuel tank and install the filler cap. Check for leaks.