| Fig. 1: Radio assembly removal/installation
|
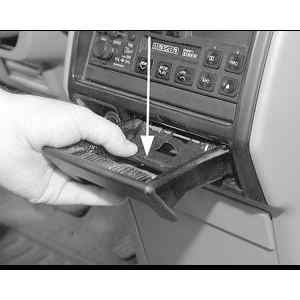
| Fig. 2: Push down on the upper retaining flap and pull
out the ashtray
|
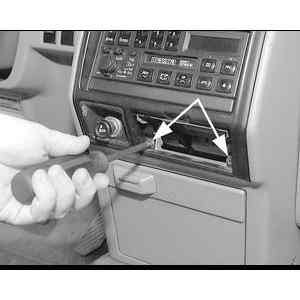
| Fig. 3: Remove the two center bezel retaining screws
located at the bottom edge of the bezel
|
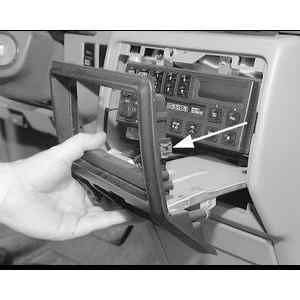
| Fig. 4: Pull the bezel away from the dashboard disengaging
the metal clips around the bezel
|
| Fig. 5: Remove the five radio unit mounting screws
|
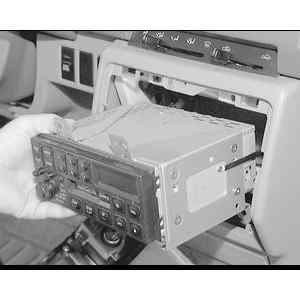
| Fig. 6: Carefully pull the radio unit out of the center
dash . . .
|
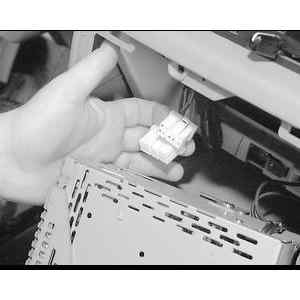
| Fig. 7: . . . then unplug the wiring harness connectors
from behind the radio . . .
|
| Fig. 8: . . . then disconnect the radio antenna leads
|
To install:
To install:
NOTE: Make sure that the hair pin area of the rear bracket is engaged to the instrument panel support.
NOTE: Make sure the mounting plate is fully seated on the instrument panel.
| Fig. 9: Example of the special radio removal tool
|
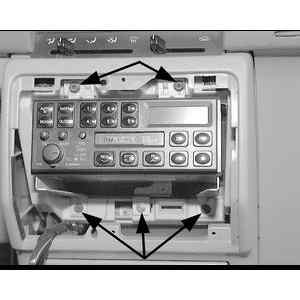
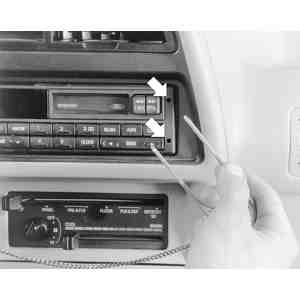
| Fig. 10: To remove the radio, insert the removal
tool prongs into the release clip access holes (arrows)
|
| Fig. 11: Push in approximately 1 inch (25.4mm)
to release the retainer clips, then pull straight out to remove
|
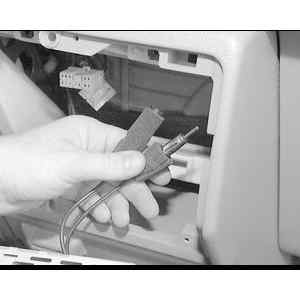
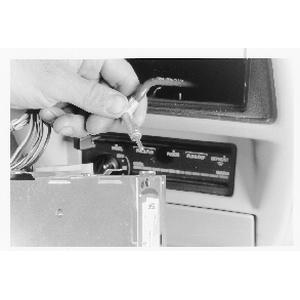
| Fig. 12: Disconnect the antenna . . .
|
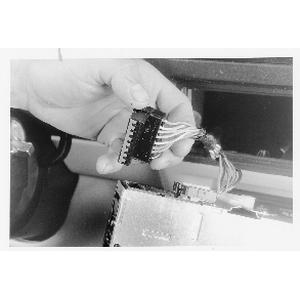
| Fig. 13: . . . and the electrical wire harness
plugs from the back of the radio
|
To install: