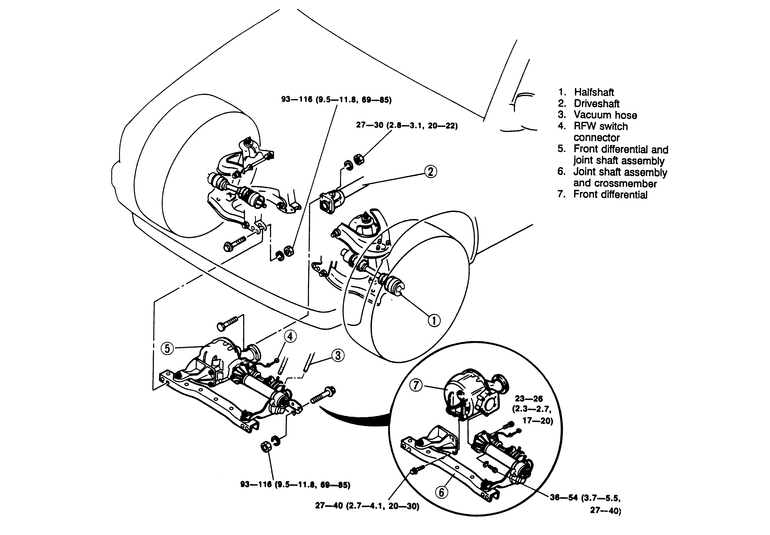
NOTE: On 1989–92 vehicles, the differential is removed
as a unit with the freewheel mechanism. After removal, the differential can
then be separated from the freewheel mechanism, if necessary.
- Raise and safely support the vehicle. Remove the wheel and tire assemblies.
- Remove the splash shield and drain the differential fluid.
- Remove the halfshafts.
- Mark the position of the driveshaft on the axle flange and remove the driveshaft.
- On 1989–92 vehicles, tag and disconnect the vacuum hoses and electrical
connector from the freewheel mechanism control box.
- Support the differential with a jack.
- Remove the crossmember bolts adjacent to the lower control arm. Lower the
differential/crossmembers assembly from the vehicle.
- Remove the crossmembers from the differential, if necessary. On 1989–92
vehicles, remove the freewheel mechanism from the differential, if necessary.
To install:
- If removed, install the freewheel mechanism.
- If removed, install the differential to the crossmembers.
- Raise the differential/crossmembers assembly into position. Install the
crossmember mounting bolts and tighten to 69–85 ft. lbs. (93–116
Nm). Remove the jack.
- Install the remaining components in the reverse order of their removal.
Fill the differential with the proper type and quantity of fluid.
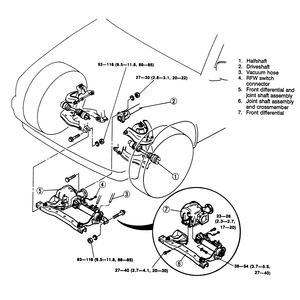
| Fig. 1: Exploded view of the front drive components — MPV
with 4WD
|
NOTE: The differential is removed as a unit with the freewheel
mechanism. After removal, the differential can then be separated from the freewheel
mechanism, if necessary.
- Raise and safely support the vehicle. Remove the wheel and tire assemblies.
- Remove the splash shield and drain the differential fluid.
- Remove the halfshafts.
- Mark the position of the driveshaft on the axle flange and remove the driveshaft.
- Tag and disconnect the vacuum hoses and electrical connector from the freewheel
mechanism control box.
- Support the differential with a jack.
- Remove the bolts/nuts attaching the differential/freewheel mechanism assembly
in 3 places and lower the assembly from the vehicle.
- If necessary, separate the freewheel mechanism from the differential.
To install:
- If removed, install the freewheel mechanism.
- Raise the differential/freewheel mechanism assembly into position and install
the attaching bolts/nuts. Tighten to 49–72 ft. lbs. (67–97 Nm).
Remove the jack.
- Install the remaining components in the reverse order of their removal.
Fill the differential with the proper type and quantity of fluid.