| Fig. 1: Rear driveshaft — single & double
cardan type
|
NOTE: The driveshaft is a balanced unit. Before removing the driveshaft, matchmark the driveshaft yoke in relationship to the axle flange so that it may be installed in its original position.
To install:
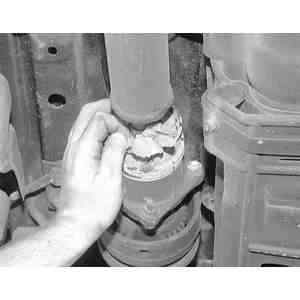
| Fig. 2: Stuff a rag into the CV U-joint to hold the driveshaft
straight and prevent damage to the boot
|
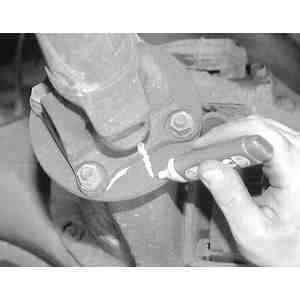
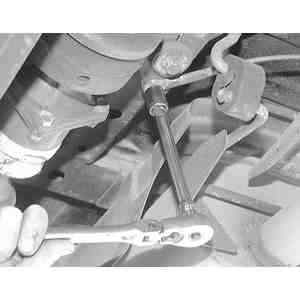
| Fig. 3: Before removing any mounting nuts, matchmark
the position of the driveshaft to the differential for correct reassembly
|
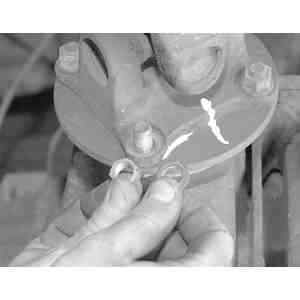
| Fig. 4: To separate the driveshaft from the differential
housing, use two, 14 mm box wrenches and remove the four mounting nuts
|
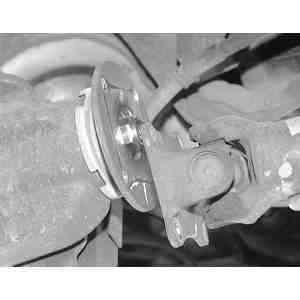
| Fig. 5: Be careful not to lose the washer when removing
the driveshaft-to-differential mounting nuts
|
| Fig. 6: Using a 14mm socket, loosen the ground wire retaining
bolt . . .
|
| Fig. 7: . . . then remove the bolt, separating the ground
wire from the driveshaft center bearing
|
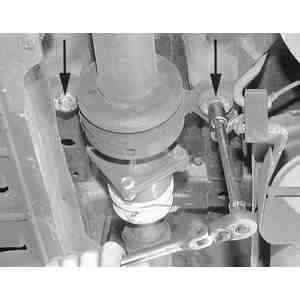
| Fig. 8: Remove the driveshaft center bearing mounting
bolts
|
| Fig. 9: After removing the center bearing mounting bolts,
separate the driveshaft from the differntial housing . . .
|
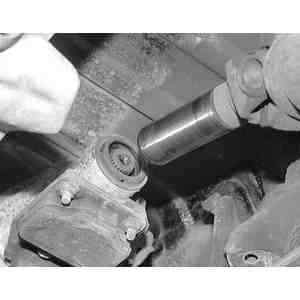
| Fig. 10: . . . then, while supporting the driveshaft
assembly, slide the driveshaft straight out of the extension housing
|
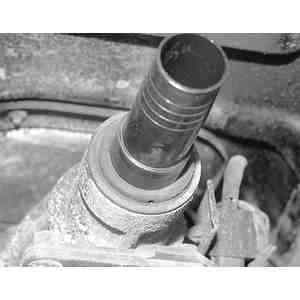
| Fig. 11: After removing the driveshaft, install a plug
such as the one pictured, into the opening of the extension housing to
prevent transmission fluid from dripping out
|