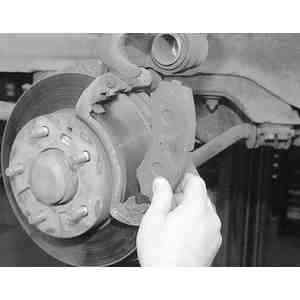
| Fig. 1: The bottom end of the inner brake pad is equipped
with a pad thickness sensor, which makes a squealing noise to alert you
that the pads must be changed
|
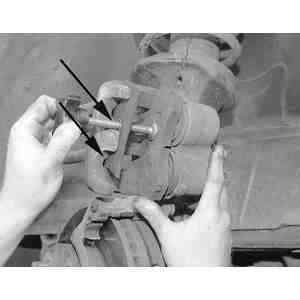
| Fig. 2: When removing the disc brake pads, you only have
to remove the bottom caliper slide bolts
|
| Fig. 3: After removing the bottom sliding bolt, swing
up and support the caliper with a strong piece of wire. Then remove the
inner and outer disc brake pads
|
| Fig. 4: Using a brake caliper piston and compressor tool
and an old brake pad, push the pistons into the bore. If equipped with
dual piston calipers, it may be necessary to alternate the tool back and
forth between the pistons (arrows)
|
| Fig. 5: If necessary, remove and clean, or replace, the
four anti-rattle clips located in the caliper on the ends of each brake
pad
|
| Fig. 6: Before installing the pads and caliper, clean
the anti-rattle clips with a brush
|
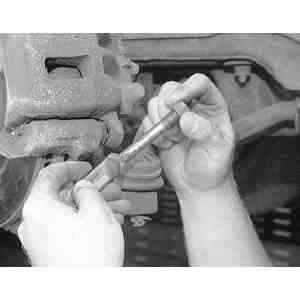
| Fig. 7: Before installing the sliding caliper bolts,
clean them and then lubricate them with brake grease
|
NOTE: Do not use a screwdriver or similar tool to pry piston away from the rotor.
| Fig. 8: Knock the caliper mounting pin toward the
outboard side
|
| Fig. 9: Outboard pad mounting
|
To install:
| Fig. 10: Anti rattle clip installation
|
| Fig. 11: Installing the caliper mounting pin
|
| Fig. 12: Tap the mounting pin on the outboard end
until the retention tabs on the side of the pin contact the spindle
face
|
WARNING
Never reuse caliper pins. Always install new pins whenever a caliper is
removed.