CAUTION
Never remove the pressure cap while the engine is running, or personal injury
from scalding hot coolant or steam may result. If possible, wait until the engine
has cooled to remove the pressure cap. If this is not possible, wrap a thick
cloth around the pressure cap and turn it slowly to the stop. Step back while
the pressure is released from the cooling system. When you are sure all the
pressure has been released, use the cloth to turn and remove the cap.
- Remove the radiator pressure cap.
- Position a clean container under the radiator and/or engine draincock or
plug, then open the drain and allow the cooling system to drain to an appropriate
level. For some upper hoses, only a little coolant must be drained. To remove
hoses positioned lower on the engine, such as a lower radiator hose, the entire
cooling system must be emptied.
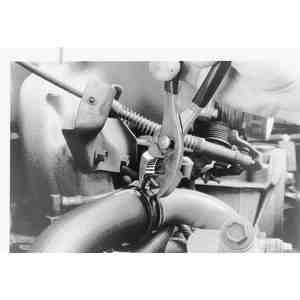
- Loosen the hose clamps at each end of the hose requiring replacement. Clamps
are usually either of the spring tension type (which require pliers to squeeze
the tabs and loosen) or of the screw tension type (which require screw or
hex drivers to loosen). Pull the clamps back on the hose away from the connection.
Squeeze the spring clamp with pliers and slide it away from hose fitting
- Twist, pull and slide the hose off the fitting, taking care not to damage
the neck of the component from which the hose is being removed.
NOTE: If the hose is stuck at the connection, do not try
to insert a screwdriver or other sharp tool under the hose end in an effort
to free it, as the connection and/or hose may become damaged. Heater connections
especially may be easily damaged by such a procedure. If the hose is to
be replaced, use a single-edged razor blade to make a slice along the portion
of the hose which is stuck on the connection, perpendicular to the end of
the hose. Do not cut deep so as to prevent damaging the connection. The
hose can then be peeled from the connection and discarded. Twist and pull
the hose from the fitting to remove it.
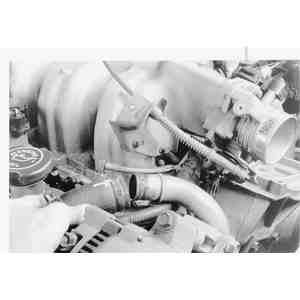
- Clean both hose mounting connections. Inspect the condition of the hose
clamps and replace them, if necessary.
To install:
- Dip the ends of the new hose into clean engine coolant to ease installation.
- Slide the clamps over the replacement hose, then slide the hose ends over
the connections into position.
- Position and secure the clamps at least 1⁄4 in.
(6.35mm) from the ends of the hose. Make sure they are located beyond the
raised bead of the connector.
- Close the radiator or engine drains and properly refill the cooling system
with the clean drained engine coolant or a suitable mixture of ethylene glycol
coolant and water.
- If available, install a pressure tester and check for leaks. If a pressure
tester is not available, run the engine until normal operating temperature
is reached (allowing the system to naturally pressurize), then check for leaks.
CAUTION
If you are checking for leaks with the system at normal operating temperature,
BE EXTREMELY CAREFUL not to touch any moving or hot engine parts. Once temperature
has been reached, shut the engine OFF, and check for leaks around the hose
fittings and connections which were removed earlier.