Previous Next

Distributor

REMOVAL & INSTALLATION

Navajo and B Series Pick-up Models

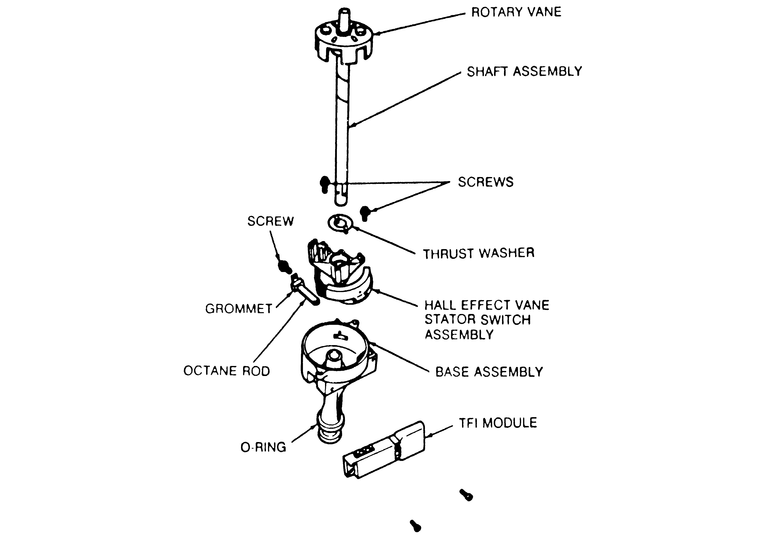
Fig. 1: Exploded view of the distributor mounted ICM distributor

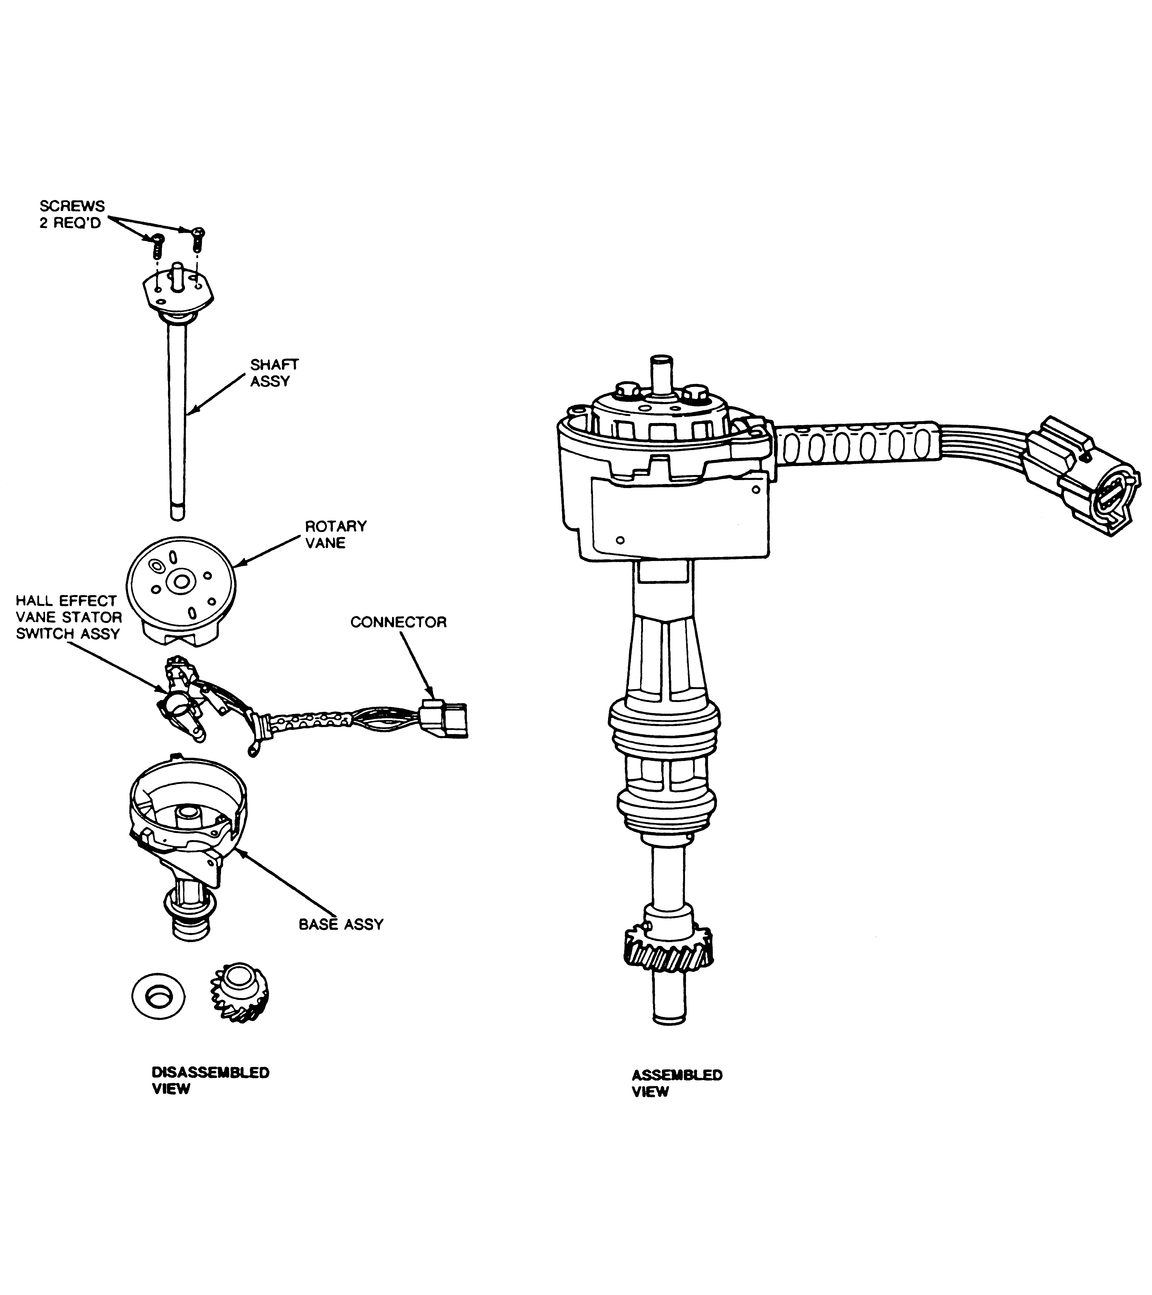
Fig. 2: Example of the remote mounted ICM distributor

  1. Rotate the engine until the No. 1 piston is on Top Dead Center (TDC) of its compression stroke.
  2. Disconnect the negative battery cable. Disconnect the vehicle wiring harness connector from the distributor. Before removing the distributor cap, mark the position of the No. 1 wire tower on the cap for reference.
  3. Loosen the distributor cap hold-down screws and remove the cap. Matchmark the position of the rotor to the distributor housing. Position the cap and wires out of the way.
  4. Scribe a mark in the distributor body and the engine block to indicate the position of the distributor in the engine.
  5. Remove the distributor hold-down bolt and clamp.

    NOTE: Some engines may be equipped with a security-type distributor hold-down bolt. If this is the case, use distributor wrench T82L–12270–A or equivalent, to remove the retaining bolt and clamp.

  6. Remove the distributor assembly from the engine. Be sure not to rotate the engine while the distributor is removed.

    To install:

  7. Make sure that the engine is still with the No. 1 piston up on TDC of its compression stroke.

    NOTE: If the engine was disturbed while the distributor was removed, it will be necessary to remove the No. 1 spark plug and rotate the engine clockwise until the No. 1 piston is on the compression stroke. Align the timing pointer with TDC on the crankshaft damper or flywheel, as required.

  8. Check that the O-ring is installed and in good condition on the distributor body.
  9. On all vehicles:
    1. Rotate the distributor shaft so the rotor points toward the mark on the distributor housing made previously.
    2. Rotate the rotor slightly so the leading edge of the vane is centered in the vane switch state assembly.
    3. Rotate the distributor in the block to align the leading edge of the vane with the vane switch stator assembly. Make certain the rotor is pointing to the No. 1 mark on the distributor base.

      NOTE: If the vane and vane switch stator cannot be aligned by rotating the distributor in the cylinder block, remove the distributor enough to just disengage the distributor gear from the camshaft gear. Rotate the rotor enough to engage the distributor gear on another tooth of the camshaft gear. Repeat Step 9 if necessary.

  10. Install the distributor hold-down clamp and bolt(s); tighten them slightly.
  11. Attach the vehicle wiring harness connector to the distributor.
  12. Install the cap and wires. Install the No. 1 spark plug, if removed.
  13. Recheck the initial timing.
  14. Tighten the hold-down clamp and recheck the timing. Adjust if necessary.
MPV Models
2.6L ENGINE
  1. Disconnect the negative battery cable.
  2. Remove the distributor cap from the distributor, leaving the spark plug wires attached. If spark plug wire removal is necessary to remove the distributor cap, tag the wires prior to removal so they can be reinstalled in the correct position.
  3. Disconnect the electrical connectors and vacuum hose(s), if equipped, from the distributor.
  4. Mark the position of the rotor in relation to the distributor housing and the position of the distributor housing on the cylinder head.
  5. Remove the distributor hold-down bolt(s) and remove the distributor.
  6. Check the distributor O-ring for cuts or other damage and replace, if necessary.

    Fig. 3: Distributor installation—2.6L engine

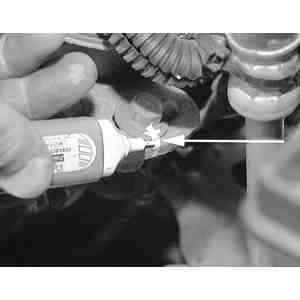
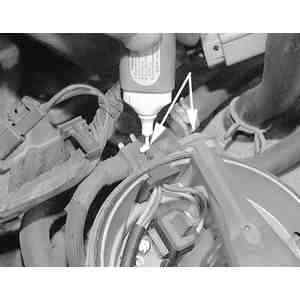
    Fig. 4: Disengage the distributor electrical connector

    Fig. 5: Be sure to matchmark the positioning of the distributor at the hold-down bolt

    Fig. 6: Matchmark the location of the rotor to the distributor assembly

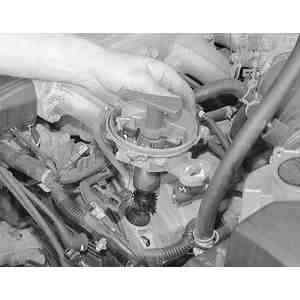
    Fig. 7: Remove the distributor assembly from out of the vehicle

    1. Disconnect the negative battery cable.
    2. Label and remove the spark plug wires.
    3. Turn the crankshaft so the No. 1 cylinder is at TDC of compression.
    4. Disconnect the electrical connector from the distributor.
    5. Mark the position of the rotor in relation to the distributor housing and the position of the distributor housing on the cylinder head.
    6. Remove the distributor hold-down bolt(s), then remove the distributor.
    7. Check the distributor O-ring for cuts or other damage and replace, if necessary.

    Previous Next