- Disconnect the negative battery cable.
- Remove the distributor assembly from the engine.
- Place the distributor on the workbench and remove the module retaining screws.
Pull the right side of the module down the distributor mounting flange and
back up to disengage the module terminal from the connector in the distributor
base. The module may be pulled toward the flange and away from the distributor.
NOTE: Do not attempt to lift the module from the mounting
surface, except as explained above. The pins will break at the distributor
module connector.
To install:
- Coat the base plate of the TFI ignition module uniformly with 1⁄32 inch
of silicone dielectric compound WA–10 or equivalent.
- Position the module on the distributor base mounting flange. Carefully position
the module toward the distributor bowl and engage the three connector pins
securely.
- Install the retaining screws. Tighten to 15–35 inch lbs (1.7–4.0
Nm), starting with the upper right screw.
- Install the distributor into the engine. Install the cap and wires.
- Reconnect the negative battery cable.
- Recheck the initial timing. Adjust if necessary.
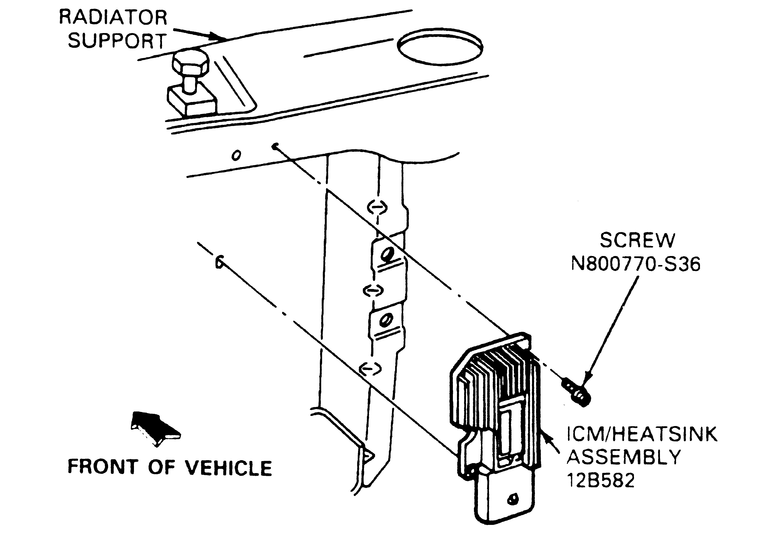
The ignition control module is mounted on the same bracket as the ignition
coil and is located on the left side strut tower in the engine compartment.
- Disconnect the negative battery cable.
- Disconnect the wiring harness from the ignition control module.
- Remove the 2 ignition control module mounting fasteners.
- Remove the ignition control module from the vehicle.
- Install in reverse order.
NOTE: The ignition control module on 1996–98 MPV models
is an integral component of the distributor and cannot be serviced separately.
If ignition control module service is required, the distributor must be replaced.