Previous Next

RELAY REPLACEMENT

NOTE: This procedure only applies to B Series Pick-up models with relay/solenoids that are a separate component of the starter assembly.

  1. Disconnect the negative battery cable from the battery.
  2. If necessary, remove the power distribution box cover.

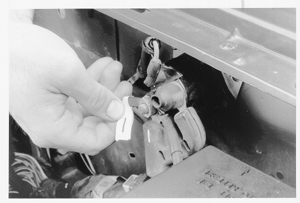
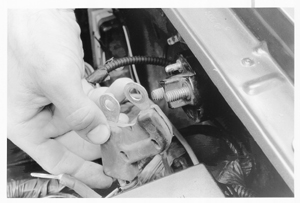
    Fig. 1: Label all of the wires on the starter relay before removing them

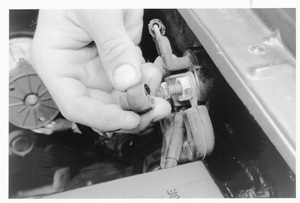
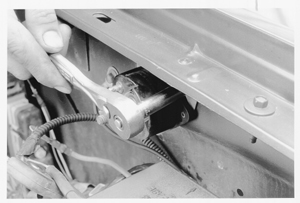
    Fig. 2: Also remove any protective caps

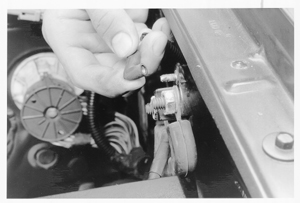
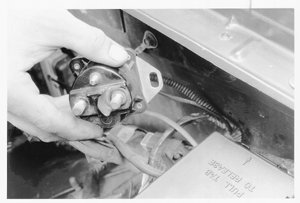
    Fig. 3: Remove the push-on connectors by pulling them straight off

  3. Disconnect the positive battery cable from the battery terminal.
  4. Remove the nut securing the positive battery cable to the relay.

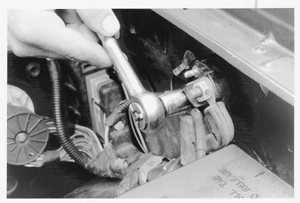
    Fig. 4: Remove the cable securing nuts . . .

  5. Remove the positive cable and any other wiring under that cable.

    Fig. 5: . . . then remove all of the cables from the relay

  6. Label and remove the push-on wires from the front of the relay.
  7. Remove the nut and disconnect the cable from the starter side of the relay.

    Fig. 6: Remove the relay-to-fender apron attaching screws . . .

    Fig. 7: . . . then remove the relay from the fender

  8. Remove the relay mounting bolts and remove the relay.

    To install:

  9. Install the relay and mounting bolts. Tighten the mounting bolts until snug.
  10. Attach all wiring to the relay.
  11. If equipped, install the power distribution box cover.
  12. Connect the positive (+) cable to the battery.
  13. Connect the negative (-) cable to the battery.

Previous Next