Previous Next

Clearing Codes

NAVAJO & B SERIES PICK-UP MODELS

1994–95

Fig. 1: To perform the clearing codes procedure, a scan tool is necessary

  1. Connect the Super Star II Tester 49-UN01-056, or equivalent scan tool, to the data link connectors, located in the engine compartment.
  2. Set the switch select to the EEC-IV position.
  3. Set the readout switch to the "FAST CODE" mode.
  4. Set the "HOLD TEST" button to the "TEST" position.
  5. Turn on the scan tool.
  6. Turn the ignition switch to the "ON" position.
  7. Verify that the pass code (111-10-111) is recieved.
  8. Turn off the scan tool.
  9. Start the engine and warm it up to operating temperature.
  10. Turn off the engine.
  11. Turn on the scan tool.
  12. Start the engine and allow it to idle.
  13. Within 2 seconds of starting the engine, depress the brake pedal and turn the steering wheel one complete turn.
  14. Verify that the pass code (111) is recieved.
  15. Perform the diagnostic trouble code (Reading Codes) inspection procedure again and verify that no codes are displayed.
1996–98
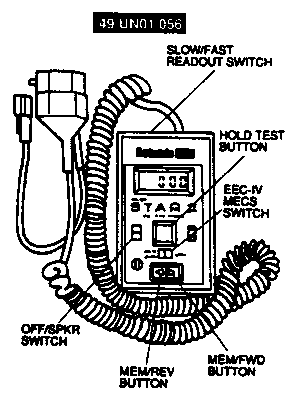
  1. After performing any necessary repairs, connect the New Generation Star (NGS) diagnostic tool, or equivalent, to the data link connector located under the driver side dashboard.
  2. Select the "CLEAR CODES" function in GENERIC OBD II FUNCTIONS and erase the diagnostic trouble codes from the NGS memory.
  3. Perform the "QUICK TEST" to ensure that the repair has been performed correctly. If diagnostic trouble code P1000 is present, perform the "OBD II DRIVE CYCLE TEST" using the scan tool.
  4. Perform the diagnostic trouble code (Reading Codes) inspection procedure again and verify that no codes are displayed.

Previous Next