Previous Next

REMOVAL & INSTALLATION

Navajo and B Series Pick-up Models
  1. Disconnect the negative battery cable.

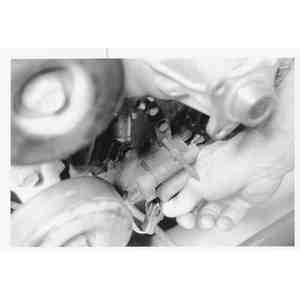
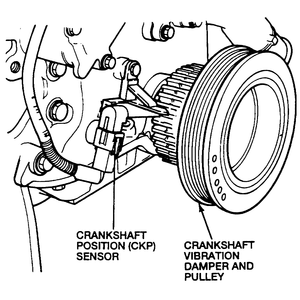
    Fig. 1: To remove the CKP sensor, first disconnect the wire harness plug . . .

  2. Disengage the wiring harness connector from the CKP sensor.
  3. Loosen the CKP sensor mounting stud/bolts, then separate the sensor form the engine front cover.

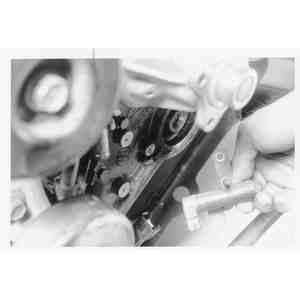
    Fig. 2: . . . then unbolt the sensor and pull it away from the engine — crankshaft damper removed for clarity

    To install:

    NOTE: When installing a new sensor on the 4.0L engine, position the sensor against the crankshaft damper. There are small rub tabs which wear off and allow the sensor to be perfectly spaced from the damper.

  4. Position the sensor against the engine front cover, then install the mounting stud/bolts. Tighten them until snug.
  5. Install the CKP sensor cover and retaining nuts; tighten the nuts until snug.
  6. Reattach the wiring harness connector to the CKP sensor.
  7. Connect the negative battery cable. .

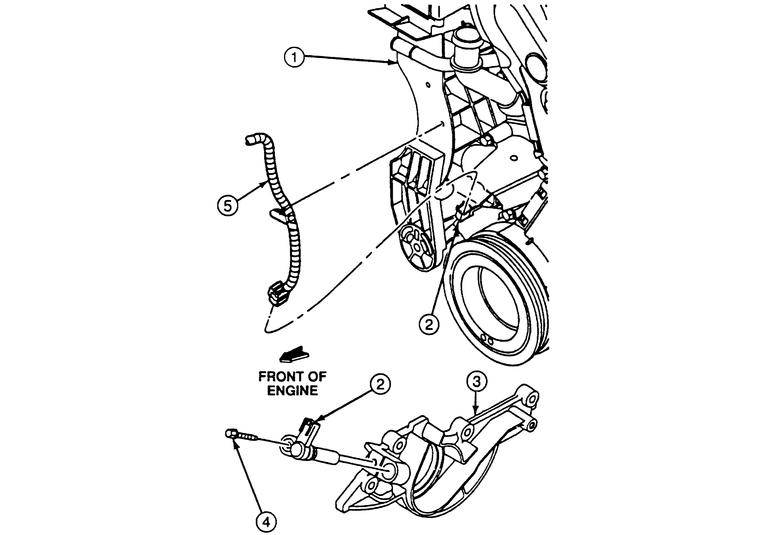
    Fig. 3: Exploded view of the 2.3L Crankshaft Position (CKP) sensor

    Fig. 4: Exploded view of the 3.0L Crankshaft Position (CKP) sensor

    Fig. 5: Exploded view of the 4.0L Crankshaft Position (CKP) sensor

1994–95 MPV Models

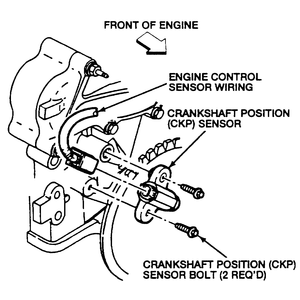
Refer to Section 2 in this manual for distributor removal and installation.

1996–98 MPV Models

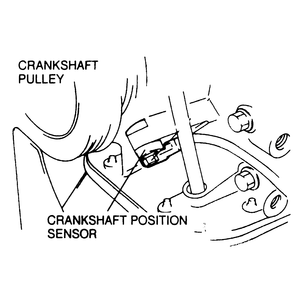
Fig. 6: Location of the crankshaft position sensor to the left of the crankshaft pulley

  1. Disconnect the negative battery cable.
  2. Unplug the crankshaft position sensor connector.
  3. Loosen the mounting bolt and remove the crankshaft position sensor from the engine.
  4. Installation is the reverse of the removal procedure.

Previous Next