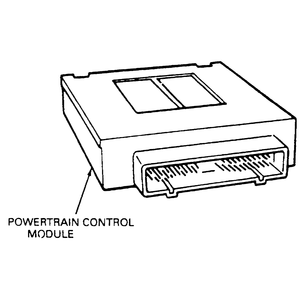
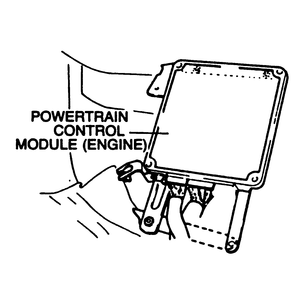
| Fig. 1: Typical PCM module
|
The module is mounted under the hood on the firewall. On 1994 models, it is
mounted low on the firewall, near the left-hand fender (drivers side). On 1995–98
models, it is mounted high on the firewall offset to the right-hand side of
center.
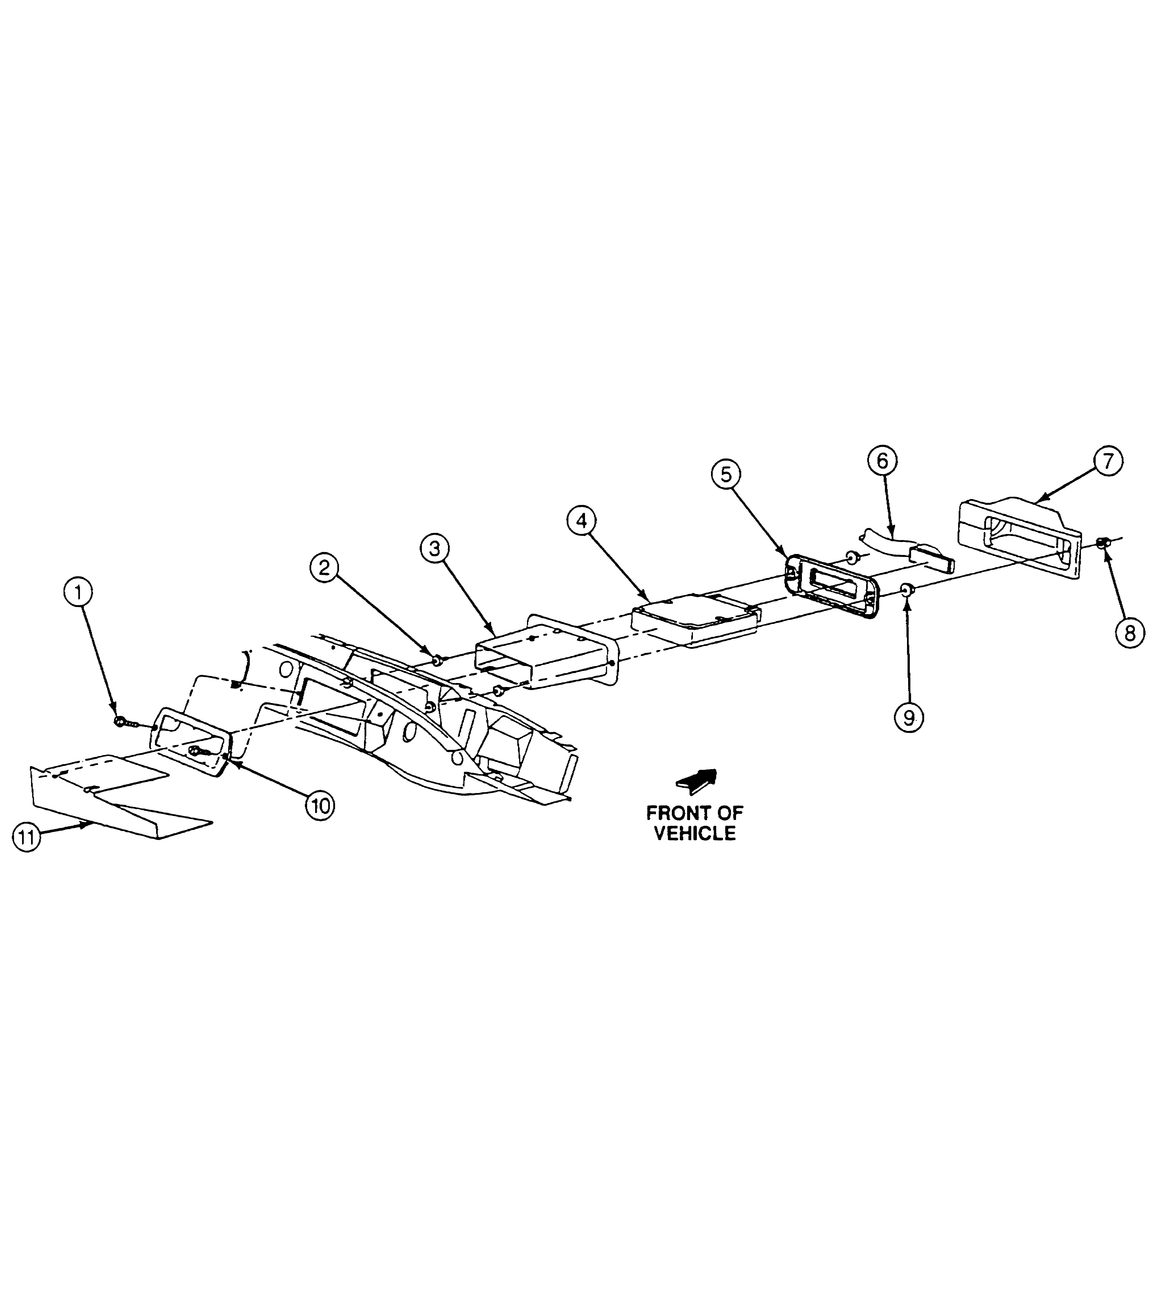
| Fig. 2: Exploded view of the firewall PCM mounting for
1994 models

|
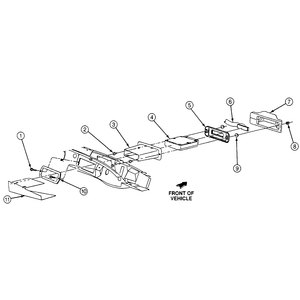
| Fig. 3: Exploded view of the firewall PCM mounting for
1995–98 models
|
- Disconnect the negative battery cable.
- Disengage the wiring harness connector from the PCM by loosening the connector
retaining bolt, then pulling the connector from the module.
- Remove the two nuts and the PCM cover.
- Remove the PCM from the bracket by pulling the unit outward.
To install:
- Install the PCM in the mounting bracket.
- Install the PCM cover and tighten the two nuts.
- Attach the wiring harness connector to the module, then tighten the connector
retaining bolt.
- Connect the negative battery cable.
The PCM/ECM is mounted in the vehicle's interior, under the dashboard on the
right (passenger) side.
- Disconnect the negative battery cable.
- Remove the right side scuff plate and right front side trim.
- Lift up the front mat.
- Remove the protector cover.
- Unplug the wiring harness connector from the control module.
- Loosen the mounting fasteners and remove the PCM/ECM from the vehicle.
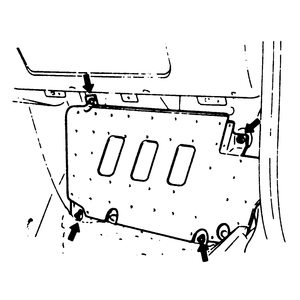
| Fig. 4: Remove the protector cover
|
| Fig. 5: Location of the control module on the front
right side of the interior
|
To install:
- Place the PCM into the vehicle in correct position.
- Install the mounting fasteners and tighten to 70–95 inch lbs. (8–10
Nm).
- Plug the wiring harness connector into the PCM/ECM.
- Install the protector cover and place the mat back in proper position.
- Install the right front side trim and the right side scuff plate.
- Connect the negative battery cable.