| Fig. 1: Cutaway view of the fuel pressure regulator
|
CAUTION
Observe all applicable safety precautions when working around fuel. Whenever
servicing the fuel system, always work in a well ventilated area. Do not allow
fuel spray or vapors to come in contact with a spark or open flame. Keep a dry
chemical fire extinguisher near the work area. Always keep fuel in a container
specifically designed for fuel storage; also, always properly seal fuel containers
to avoid the possibility of fire or explosion.
| Fig. 2: Fuel pressure regulator on the 2.3L engine — 3.0L
engines are similar
|
| Fig. 3: Fuel pressure regulator on the 4.0L engine
|
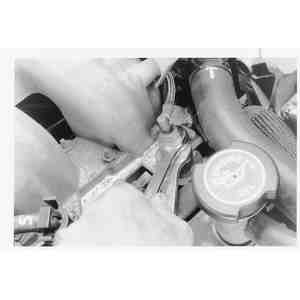
| Fig. 4: To remove the fuel pressure regulator, first
remove the vacuum line from the regulator . . .
|
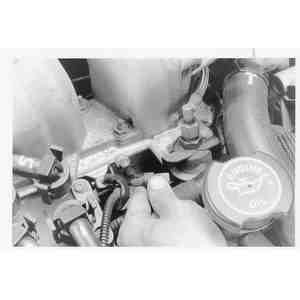
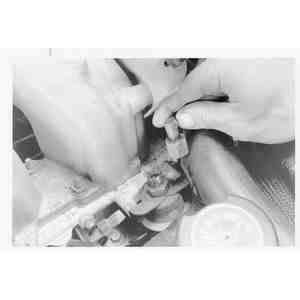
| Fig. 5: . . . then loosen the fuel return line fitting
. . .
|
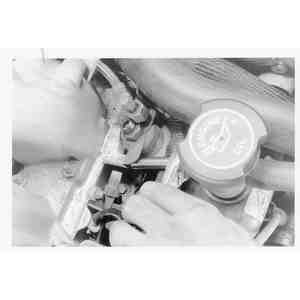
| Fig. 6: . . . and disconnect it from the regulator
|
NOTE: Some engines use two standard hex head bolts to retain the regulator instead of the Allen® head screws.
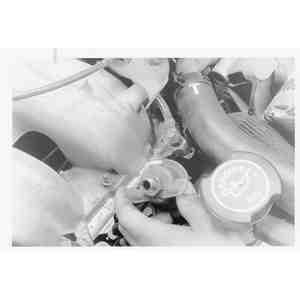
| Fig. 7: Remove the regulator attaching bolts . .
.
|
| Fig. 8: . . . then pull the regulator from the supply
manifold using a slight rocking motion to unseat the O-ring seal
|
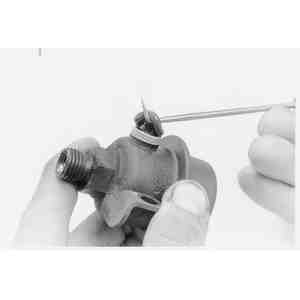
| Fig. 9: Inspect the regulator O-ring seal and replace
it if needed. A small pick will aid in removing the old seal
|
To install:
NOTE: On the 2.3L engine, install the fuel manifold shield and tighten the bolts to 15–22 ft. lbs. (20–30 Nm).
| Fig. 10: Fuel pressure regulator location — 2.6L
engine
|
| Fig. 11: Fuel pressure regulator location — 3.0L
engine (1994–95)
|
| Fig. 12: Fuel pressure regulator location — 3.0L
engine (1996–98)
|
CAUTION
Observe all applicable safety precautions when working around fuel. Whenever
servicing the fuel system, always work in a well ventilated area. Do not allow
fuel spray or vapors to come in contact with a spark or open flame. Keep a dry
chemical fire extinguisher near the work area. Always keep fuel in a container
specifically designed for fuel storage; also, always properly seal fuel containers
to avoid the possibility of fire or explosion.