| Fig. 1: Exploded view of the 2.3L engine throttle body
assembly — 2.5L engine similar
|
| Fig. 2: Exploded view of the 3.0L engine throttle body/upper
intake manifold assembly
|
| Fig. 3: Exploded view of the 4.0L engine throttle body
assembly and related components

|
NOTE: The 3.0L engine's throttle body is a 1 piece casting
which includes the upper intake manifold. In order to remove the throttle body,
the entire upper manifold must be removed. Refer to Section 3 for the proper
procedures.
- Loosen the air inlet tube clamps, then separate the tube from the throttle
body and air cleaner housing. Remove the tube from the vehicle.
- If equipped, remove the throttle linkage shield.
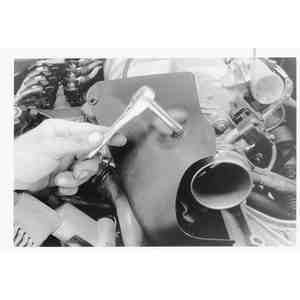
| Fig. 4: To remove the throttle body, first remove
the air intake hose, then the linkage shield
|
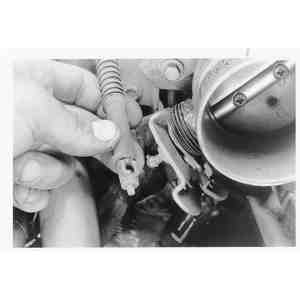
| Fig. 5: Next, disconnect the throttle control cable(s)
from the throttle body . . .
|
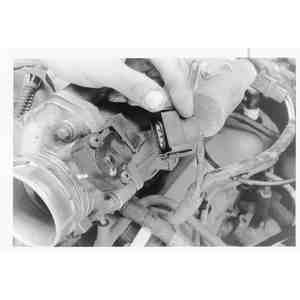
| Fig. 6: . . . as well as any electrical connections.
. .
|
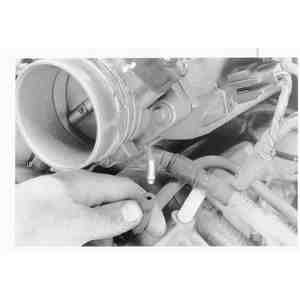
| Fig. 7: . . . and vacuum fittings. Make sure to label
them to assure proper installation
|
- Detach the accelerator and speed control (if equipped) cables from the throttle
body lever.
- Label and disengage the engine wiring harness connectors from the Throttle
Position (TP) sensor and the Idle Air Control (IAC) valve; both are mounted
on the throttle body.
| Fig. 8: Remove the throttle body-to-upper intake
attaching bolts . . .
|
- Remove the four mounting nuts, then carefully separate the throttle body
from the upper intake manifold.
| Fig. 9: . . . then remove the throttle body assembly
|
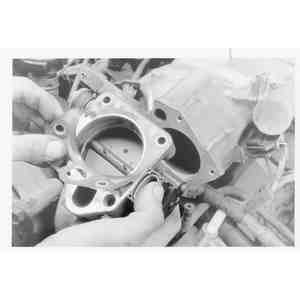
| Fig. 10: Remove the old gasket and thoroughly clean
the mating surfaces of both pieces
|
- Remove and discard the old throttle body-to-intake manifold gasket.
To install:
NOTE: If scraping is necessary to clean the remaining gasket
material off of the mating surfaces, take care to avoid scratching or gouging
the soft aluminum.
- Clean the gasket mating surfaces of any residual gasket material.
- Install the throttle body, along with a new gasket, onto the upper intake
manifold. Install and tighten the mounting nuts in a crisscross pattern to
specifications.
- Engage the TP sensor and IAC valve wiring connectors and remove the temporary
labels.
- Reattach the accelerator and speed control cables, if applicable, to the
throttle body lever.
- If removed, install the throttle linkage shield.
- Install the air inlet tube between the air cleaner housing and the throttle
body. Tighten the tube clamps until snug.
- Disconnect the battery ground.
- Disconnect the air hose.
- Disconnect the ventilation hose.
- Remove the air pipe and resonance chamber.
- Disconnect the accelerator cable from the throttle lever.
- Drain the engine coolant.
CAUTION
When draining the coolant, keep in mind that cats and dogs are attracted
by the ethylene glycol antifreeze, and are quite likely to drink any that
is left in an uncovered container or in puddles on the ground. This will
prove fatal in sufficient quantity. Always drain the coolant into a sealable
container. Coolant should be reused unless it is contaminated or several
years old.
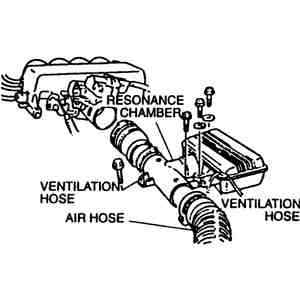
| Fig. 11: Exploded view of the air hose and resonance
chamber assembly
|
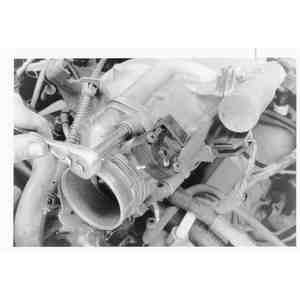
| Fig. 12: Removal of throttle body components
|
- Disconnect the coolant lines at the manifold.
- Tag and disconnect all vacuum hoses.
- Tag and disconnect all wiring.
- Unbolt and remove the throttle body.
- Always use a new mounting gasket. Place the new gasket and throttle body
in position. Install and torque the fasteners to 14–18 ft. lbs. (19–25
Nm). Connect the vacuum lines, hoses and intake system components. Fill the
cooling system.
- Disconnect battery negative cable.
- Drain approximately 2 qts. of coolant from the engine.
- Loosen air cleaner-to-throttle body hose clamps and remove hose.
- Remove accelerator cable.
- Remove harness connector from throttle position sensor (TPS).
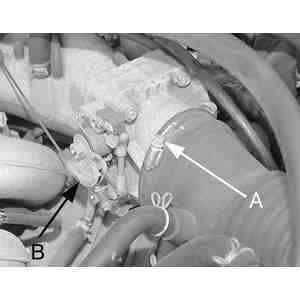
| Fig. 13: Loosen the air cleaner-to-throttle body
hose clamps (A) and remove hose, then disconnect the accelerator cable
(B)
|
- Disconnect the water hoses.
- Label and remove vacuum hoses necessary.
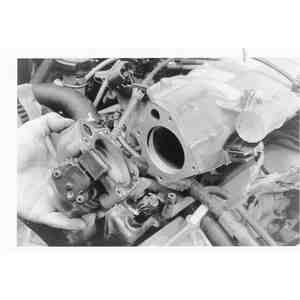
| Fig. 14: Remove the throttle body and replace the
mounting gasket
|
- Remove throttle body mounting nuts and remove throttle body and gasket.
- Install throttle body using a new gasket on air intake plenum. Secure with
mounting nuts. Tighten the mounting nuts to 14–18 ft. lbs. (19–25
Nm).
- Reconnect water hoses and TPS connector.
- Reconnect accelerator cable.
- Install air cleaner to throttle body hose and tighten clamps.
- Add the necessary amount of engine coolant.
- Reconnect battery negative cable. Adjust the idle speed, if necessary.
- Disconnect the negative battery cable.
- Remove the clamps and remove the air intake hose from the throttle body
and the MAF sensor.
| Fig. 15: Disconnect the accelerator cable
|
- Disconnect the accelerator cable and if equipped, the cruise control cable.
- Disconnect the throttle position sensor connector.
- Remove the 2 bolts and the 2 nuts and remove the throttle body unit and
gasket.
To install:
- Using a new gasket, install the throttle body assembly with the 2 bolts
and the 2 nuts. Torque the bolts and nuts to 14–18 ft. lbs. (19–25
Nm).
- Reconnect the throttle position sensor connector.
- Reconnect the accelerator cable and if equipped, the cruise control cable.
- Install the air intake hose to the throttle body assembly and the MAF sensor
with the 2 clamps.
- Connect the negative battery cable, start the engine and operate until normal
temperature, check for proper operation.