Previous Next

ENTERTAINMENT SYSTEMS

Radio Receiver/Tape Player

REMOVAL & INSTALLATION

Navajo and B Series Pick-up Models

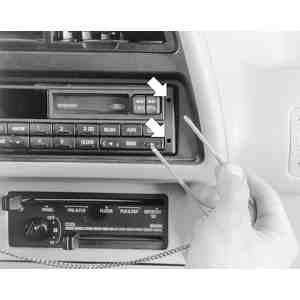
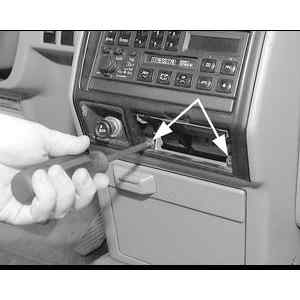
Fig. 1: Example of the special radio removal tool

  1. Disconnect the negative battery cable. To remove the radio, insert the removal tool prongs into the release clip access holes (arrows)

    Push in approximately 1 inch (25.4mm) to release the retainer clips, then pull straight out to remove

  2. Insert the radio removal tool 49-UN01-050 or equivalent, into the radio face.
  3. Press in 1 inch (25.4mm) to release the retaining clips, then using the tool as handles, pull the radio out of the instrument panel. Disconnect the antenna . . .

    . . . and the electrical wire harness plugs from the back of the radio

  4. Disconnect the antenna and wiring connectors from the radio.

    To install:

  5. Connect the wiring and slide the radio into the instrument panel. Ensure that the rear mounting bracket is engaged on the mounting track in the panel.
  6. If removed, install the finish panel
  7. Connect the battery cable.
  8. Check the operation of the radio.
1994–95 MPV Models

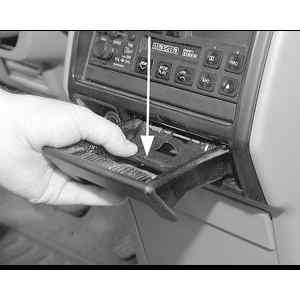
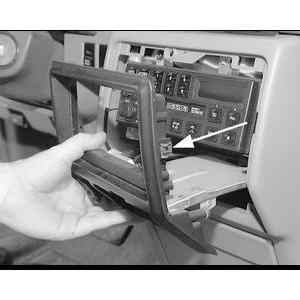
Fig. 2: Push down on the upper retaining flap and pull out the ashtray

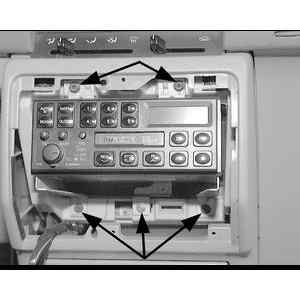
Fig. 3: Remove the two center bezel retaining screws located at the bottom edge of the bezel

Fig. 4: Pull the bezel away from the dashboard disengaging the metal clips around the bezel

Fig. 5: Remove the five radio unit mounting screws

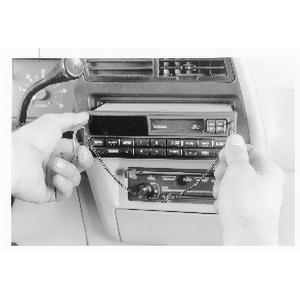
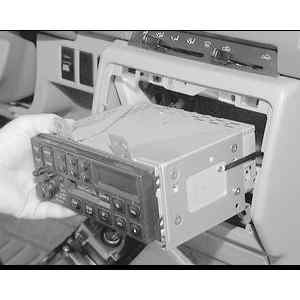
Fig. 6: Carefully pull the radio unit out of the center dash . . .

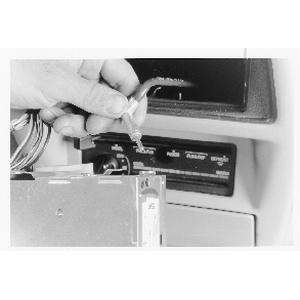
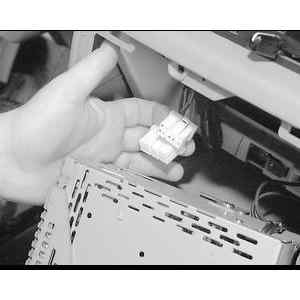
Fig. 7: . . . then unplug the wiring harness connectors from behind the radio . . .

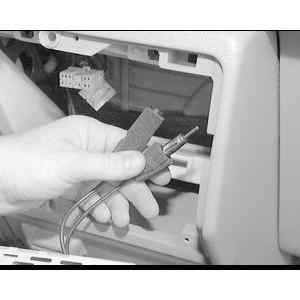
Fig. 8: . . . then disconnect the radio antenna leads

  1. Disconnect the negative battery cable.
  2. Remove the ashtray by pushing down on the inside metal flap and then pulling straight out.
  3. Remove the two lower center bezel mounting screws.
  4. Carefully pull out the center bezel, disengaging the metal retaining clips.
  5. Remove the five radio mounting screws.
  6. Carefully pull the radio out of the instrument panel far enough to unplug the antenna leads and wiring connectors from the radio.
  7. Remove the radio from the vehicle.

    To install:

  8. Connect the antenna leads and wiring connectors to the back of the radio, then slide into the instrument panel.
  9. Install and tighten the five mounting screws.
  10. Install the center bezel and tighten the two mounting screws.
  11. Install the ashtray.
  12. Connect the negative battery cable.
1996–98 MPV Models
  1. Disconnect the negative battery cable.
  2. Remove the hole covers by inserting a small, tape wrapped, prying tool into the slot and carefully prying them off without scratching the center lower panel. Pry upward and pull off the hole covers carefully to prevent the posts from breaking off.

    Fig. 9: Removal of the hole cover

  3. Insert the radio removal tool 49-UN01-050 or equivalent, into the radio face with the beveled parts of the tool facing inward.
  4. Press in to release the retaining clips, then using the tool as handles, pull the radio out of the instrument panel.
  5. Disconnect the antenna and wiring connectors from the radio.

    To install:

  6. Connect the wiring and slide the radio into the instrument panel until each retaining clip clicks.
  7. Install the hole covers.
  8. Connect the negative battery cable.
  9. Check the operation of the radio.

Previous Next