| Fig. 1: Integral axle carrier, exploded view
|
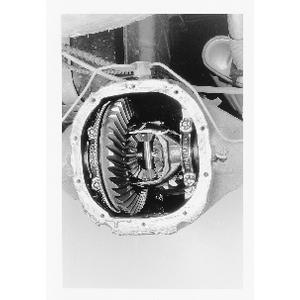
| Fig. 2: To remove the axle, first remove the rear
axle cover and drain the fluid
|
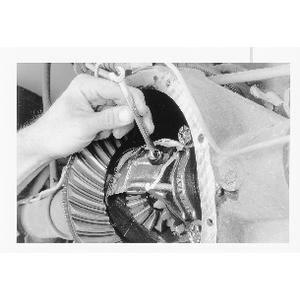
| Fig. 3: Next, loosen the pinion shaft lock bolt .
. .
|
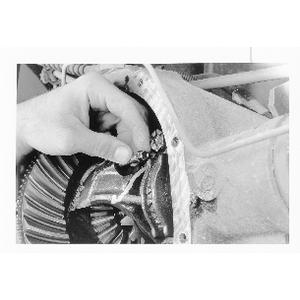
| Fig. 4: . . . and remove it from the axle carrier
|
NOTE: The pinion gears may be left in place. Once the axle shafts are removed, reinstall the pinion shaft and lock bolt.
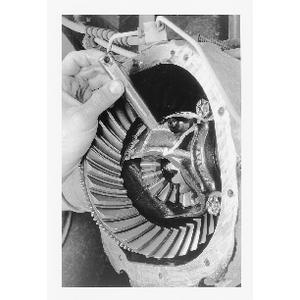
| Fig. 5: Pull the pinion shaft out of the axle
carrier. DO NOT rotate the axle with the pinion shaft removed!
|
| Fig. 6: Push in on the axle flange (wheel side)
and remove the axle C-lock (A) from the end of the axle (B)
|
| Fig. 7: Slide the axle out of the axle tube.
Use care to not damage the bearing or seal
|
| Fig. 8: Axle shaft seal and bearing removal
|
To install:
| Fig. 9: Axle shaft bearing and seal installation
|
NOTE: To permit axle shaft installation on 3.73:1 and 4.10:1 ratio axles, make sure the differential pinion shaft contacts the ring gear before performing Step 11.
NOTE: The cover assembly must be installed within 15 minutes of application of the silicone sealant.
CAUTION
Wear some kind of protective goggles when grinding the collar and breaking
the collar from the shaft!
| Fig. 10: Rear axle shaft components
|