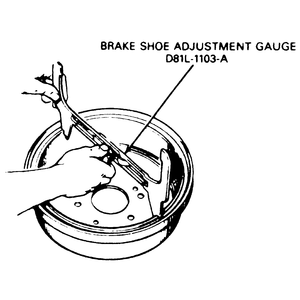
| Fig. 1: Brake shoe adjustment gauge — Step
1

|
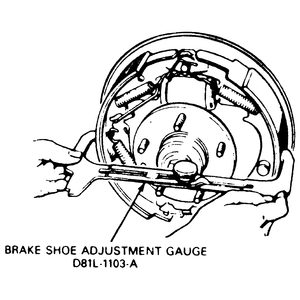
| Fig. 2: Brake shoe adjustment gauge — Step
2

|
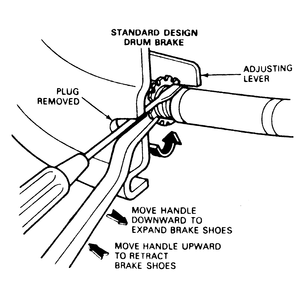
| Fig. 3: Adjusting the rear brakes

|
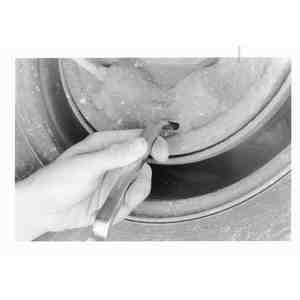
| Fig. 4: Adjust the rear brakes with a flat bladed tool
inserted in the access hole in the backing plate

|
The drum brakes are self-adjusting and require a manual adjustment only after
the brake shoes have been replaced.
NOTE: Disc brakes are not adjustable.
To adjust the rear brakes with drums installed, follow the procedure given
below:
- Raise the vehicle and support it with safety stands.
- Remove the rubber plug from the adjusting slot on the backing plate.
- Turn the adjusting screw using a Brake Shoe Adjustment Tool or equivalent
inside the hole to expand the brake shoes until they drag against the brake
drum and lock the drum.
- Insert a small screwdriver or piece of firm wire (coat hanger wire) into
the adjusting slot and push the automatic adjusting lever out and free of
the starwheel on the adjusting screw and hold it there.
- Engage the topmost tooth possible on the starwheel with the brake adjusting
spoon. Move the end of the adjusting spoon upward to move the adjusting screw
starwheel downward and contract the adjusting screw. Back off the adjusting
screw starwheel until the wheel spins FREELY with a minimum of drag about
10 to 12 notches. Keep track of the number of turns that the starwheel is
backed off, or the number of strokes taken with the brake adjusting spoon.
- Repeat this operation for the other side. When backing off the brakes on
the other side, the starwheel adjuster must be backed off the same number
of turns to prevent side-to-side brake pull.
- When all drum brakes are adjusted, remove the safety stands and lower the
vehicle and make several stops while backing the vehicle, to equalize the
brakes at all of the wheels.
- Road test the vehicle. PERFORM THE ROAD TEST ONLY WHEN THE BRAKES WILL APPLY
AND THE VEHICLE CAN BE STOPPED SAFELY!


