| Fig. 1: Cutaway view of the master cylinder assembly
|
WARNING
Vehicles with 4-wheel anti-lock brakes require an Anti-lock Brake Adapter (T90P-50-ALA)
and Jumper (T93T-50-ALA) in order to bleed the master cylinder and the Hydraulic
Control Unit (HCU). Failure to do so will trap air in the HCU unit, eventually
causing a spongy pedal.
NOTE: Before performing this procedure, ensure that you have the tools necessary to bleed the master cylinder and the HCU unit. If the tools are not available, you can still perform the procedure. However, you will need to tow the vehicle to a professional garage capable of bleeding the ABS system.
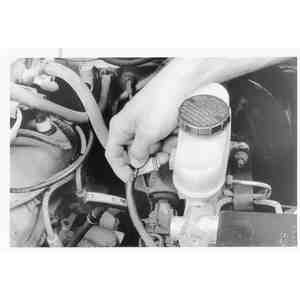
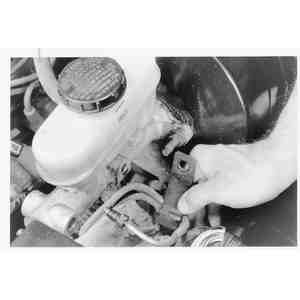
| Fig. 2: To remove the master cylinder, first disconnect
the fluid level sensor wire
|
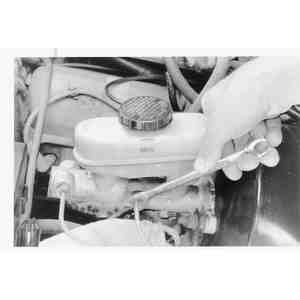
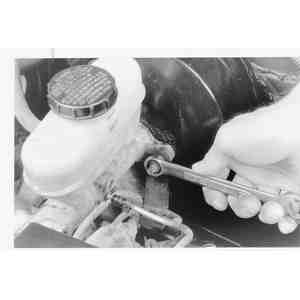
| Fig. 3: Next, loosen the fluid line fittings at the
master cylinder with a flarenut wrench . . .
|
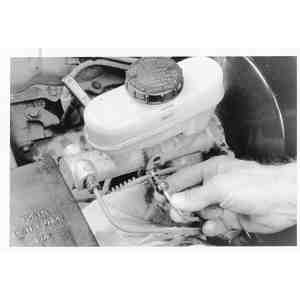
| Fig. 4: . . . then disconnect the lines
|
| Fig. 5: If equipped, remove any bracket retaining
nuts . . .
|
| Fig. 6: . . . and pull the bracket from the mounting
stud
|
| Fig. 7: Remove the master cylinder-to-power booster
attaching bolts . . .
|
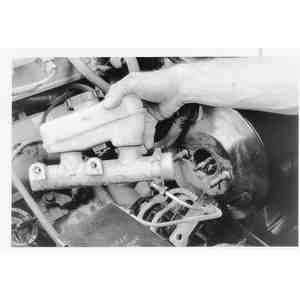
| Fig. 8: . . . then pull the master cylinder off of
the mounting studs and remove it from the vehicle.
|
To install:
When replacing the master cylinder it is best to BENCH BLEED the master cylinder before installing it to the vehicle. Mount the master cylinder into a vise or suitable equivalent (do not damage the cylinder). Fill the cylinder to the correct level with the specified fluid. Block off all the outer brake line holes but one, then, using a long tool such as rod position it in the cylinder to actuate the brake master cylinder. Pump (push tool in and out) the brake master cylinder 3 or 4 times till brake fluid is release out and no air is in the brake fluid. Repeat this procedure until all brake fluid is released out of every hole and no air is expelled.
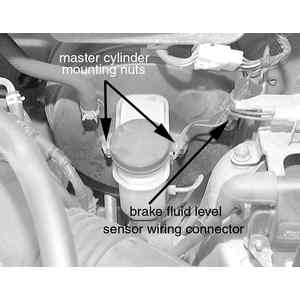
| Fig. 9: Location of the master cylinder mounting nuts
and fluid level sensor connector
|
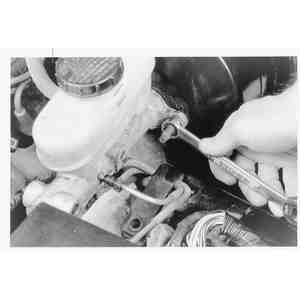
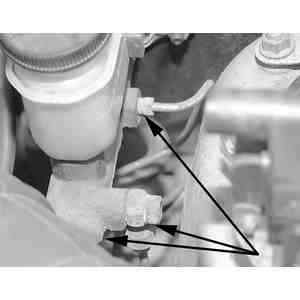
| Fig. 10: Disconnect the brake lines from the master cylinder
using a flare nut wrench and a box wrench
|
To install: