Wheel cylinder overhaul kits may be available, but often at little or no savings over a reconditioned wheel cylinder. It often makes sense with these components to substitute a new or reconditioned part instead of attempting an overhaul.
If no replacement is available, or you would prefer to overhaul your wheel cylinders, the following procedure may be used. When rebuilding and installing wheel cylinders, avoid getting any contaminants into the system. Always use clean, new, high quality brake fluid. If dirty or improper fluid has been used, it will be necessary to drain the entire system, flush the system with proper brake fluid, replace all rubber components, then refill and bleed the system.
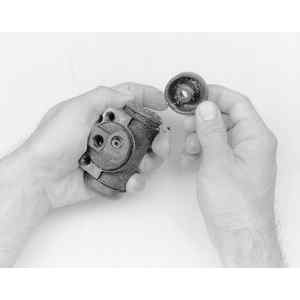
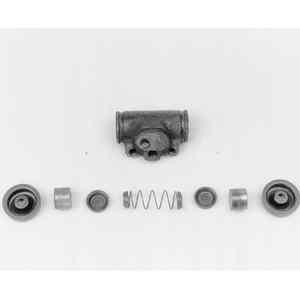
| Fig. 1: Exploded view of the rear wheel cylinder assembly
|
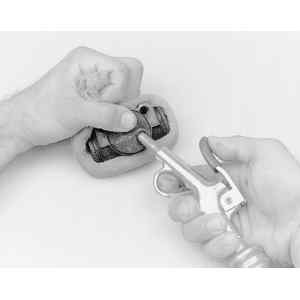
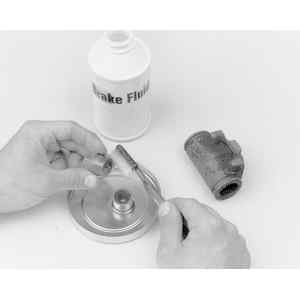
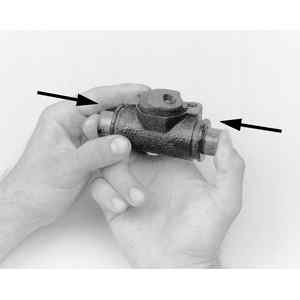
| Fig. 2: Remove the outer boots from the wheel cylinder
|
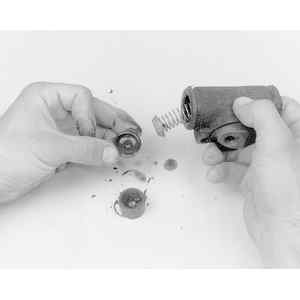
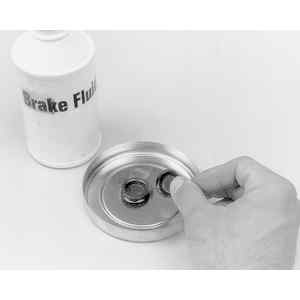
| Fig. 3: Compressed air can be used to remove the
pistons and seals
|
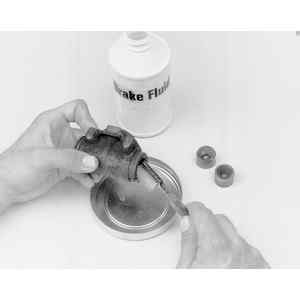
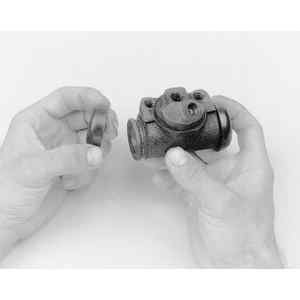
| Fig. 4: Remove the pistons, cup seals and spring
from the cylinder
|
| Fig. 5: Use brake fluid and a soft brush to clean
the pistons . . .
|
| Fig. 6: . . . and the bore of the wheel cylinder
|
WARNING
Never use a mineral-based solvent such as gasoline, kerosene or paint thinner
for cleaning purposes. These solvents will swell rubber components and quickly
deteriorate them.
| Fig. 7: Once cleaned and inspected, the wheel cylinder
is ready for assembly
|
| Fig. 8: Lubricate the cup seals with brake fluid
|
| Fig. 9: Install the spring, then the cup seals in
the bore
|
| Fig. 10: Lightly lubricate the pistons, then install
them
|
| Fig. 11: The boots can now be installed over the
wheel cylinder ends
|