There is something, however, that you can do to prolong or even prevent the need for replacement of a chipped windshield. There are many companies, such as Loctite® , which offer windshield chip repair products, such as the BullseyeWindshield Repair Kit (Part No. 16067). These kits are not meant to correct cracks or holes in your windshield, only chips caused by gravel or stones.
NOTE: Check with your state and local authorities on the laws for state safety inspection. Some states or municipalities may not allow chip repair as a viable option for correcting stone damage to your windshield.
To fix a stone chip in your windshield with the Loctite® BullseyeWindshield Repair Kit, perform the following:
NOTE: Loctite Corporation recommends that their repair kits should be applied outside in the sunlight, which, evidently, helps cure the repair solution much faster. In one of our experiments with these kits, performed in a shop using fluorescent lights and without any sunlight, the solution had not cured even after 18 hours. Therefore, it is highly recommended that the solution be allowed to cure in sunlight.
WARNING
The fluid contained in chip repair kits may damage paint; be sure to cover
any exposed areas with clean shop rags.
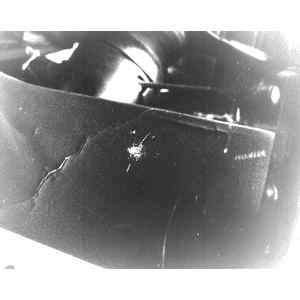
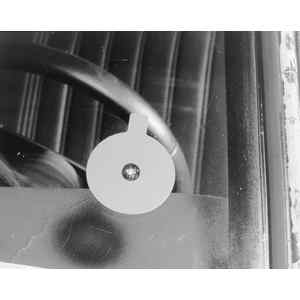
| Fig. 1: Small chips on your windshield can be fixed
with an aftermarket repair kit, such as the one from Loctite(
|
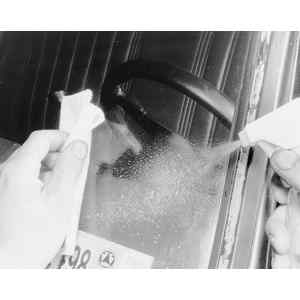
| Fig. 2: To repair a chip, clean the windshield with
glass cleaner and dry it completely
|
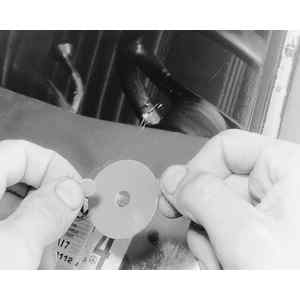
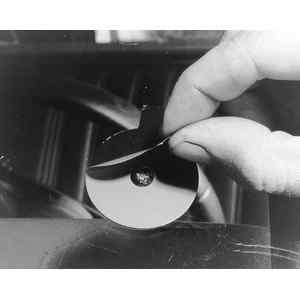
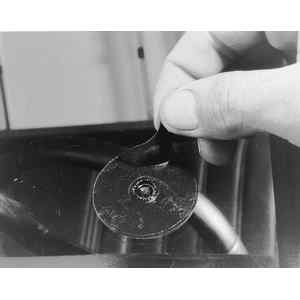
| Fig. 3: Remove the center from the adhesive disc
and peel off the backing from one side of the disc . . .
|
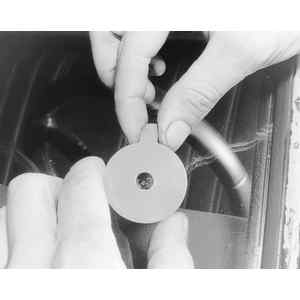
| Fig. 4: . . . then press it on the windshield so
that the chip is centered in the hole
|
| Fig. 5: Be sure that the tab points upward on the
windshield
|
| Fig. 6: Peel the backing off the exposed side of
the adhesive disc . . .
|
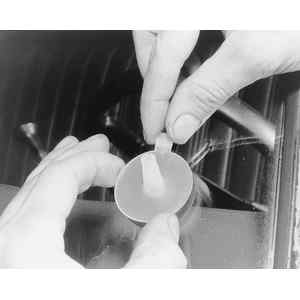
| Fig. 7: . . . then position the plastic pedestal
on the adhesive disc, ensuring that the tabs are aligned
|
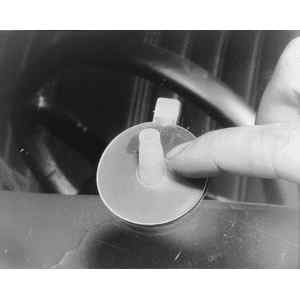
| Fig. 8: Press the pedestal firmly on the adhesive
disc to create an adequate seal . . .
|
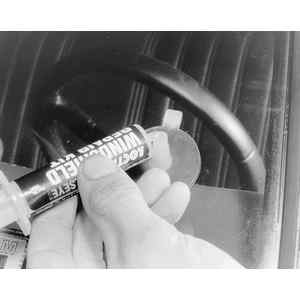
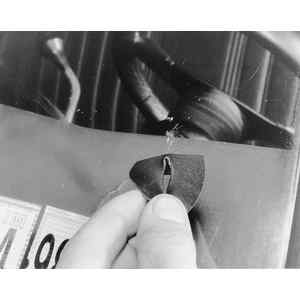
| Fig. 9: . . . then install the applicator syringe
nipple in the pedestal's hole
|
NOTE: During the next step, pull the plunger back until you feel it hit the stop on the inside of the syringe.
NOTE: If the repair must be performed indoors and it does not set in a few hours, an ultraviolet lamp may help expedite the curing process. However, according to the manufacturer, this should not be necessary.
NOTE: For other brands of windshield repair kits, follow the manufacturer's instructions enclosed with the kit.
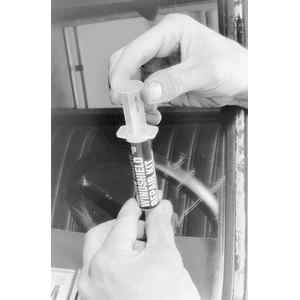
| Fig. 10: Hold the syringe with one hand while pulling
the plunger back with the other hand
|
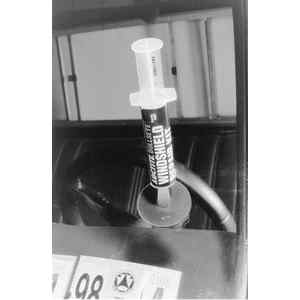
| Fig. 11: After applying the solution, allow the entire
assembly to sit until it has set completely
|
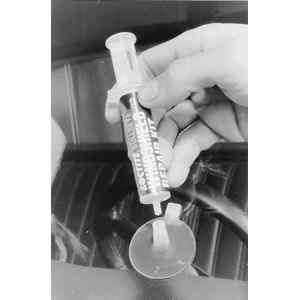
| Fig. 12: After the solution has set, remove the syringe
from the pedestal . . .
|
| Fig. 13: . . . then peel the pedestal off of the
adhesive disc . . .
|
| Fig. 14: . . . and peel the adhesive disc off of
the windshield
|
| Fig. 15: The chip will still be slightly visible,
but it should be filled with the hardened solution
|